CSV Integrations
Last updated: November 6, 2024
This is a custom integration that allows you to create and update a table in Aleph using CSV files. To establish the connection you will need a sample CSV file that contains all the necessary columns you would like to intregrate.
Setup Steps
As part of the set up, we will generate an email address where you will be able to send the CSV files to be integrated into Aleph. Once the integration is finished, you will be able to send CSV files to this email address at the desired cadence to keep the data in the table up-to-date.
Getting Started
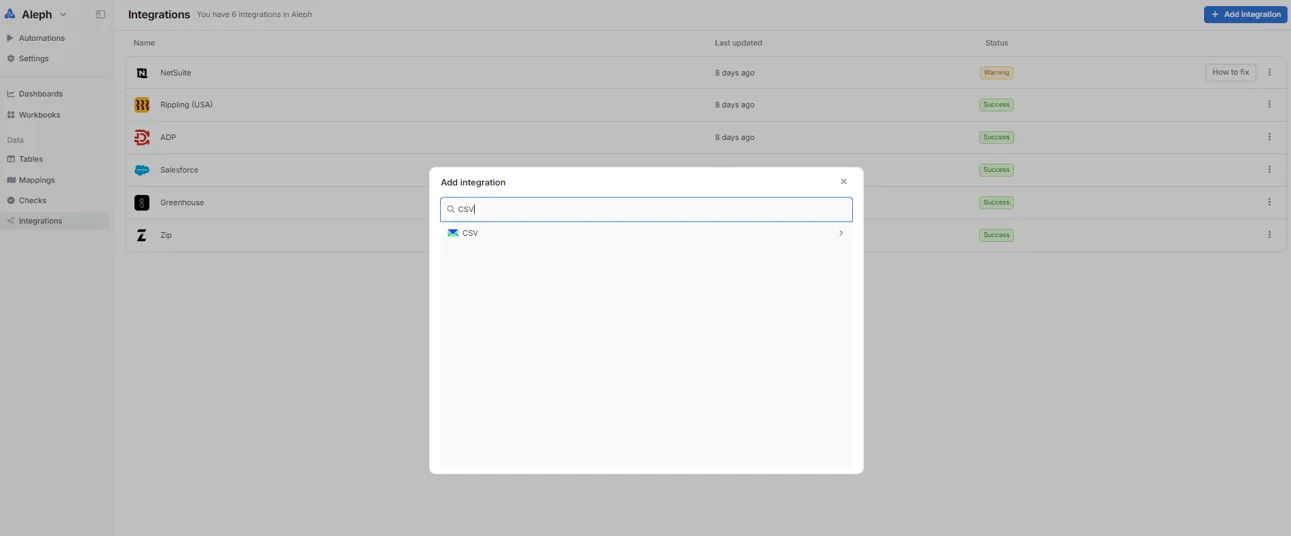
First go to the Aleph web app and navigate to the Integrations section
Go to the top right corner and click "Add Integration"
Search for "CSV" and select the option from the results list
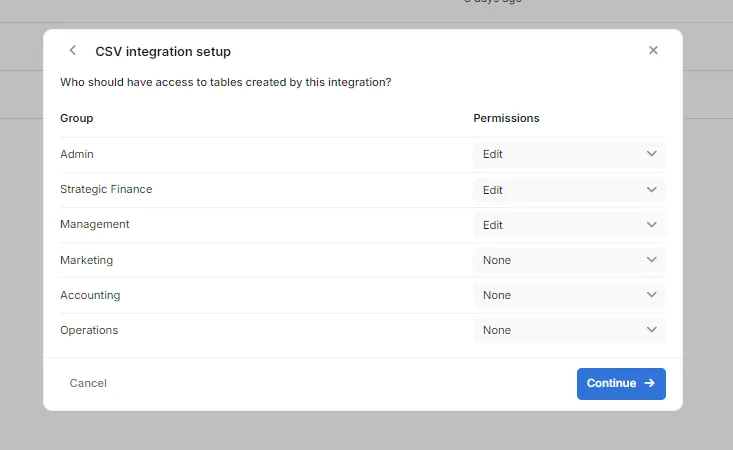
Set Up User Permissions
In this step, you can grant the desired permissions to your user groups by selecting an option from the dropdown. To learn more about groups and permissions, please visit the📄 Users, Permissions, and Groupssection.
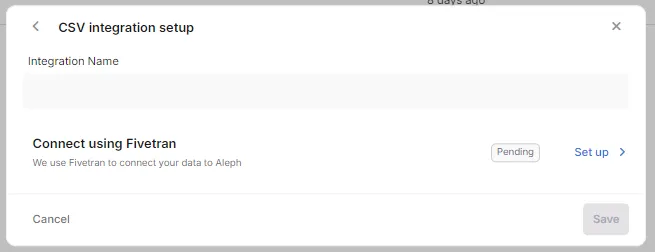
Integration name
Next, choose a name for your CSV integration and click "Set up".
Your integration name will also be your table name. We suggest following this structure "Name of System | Type of Table".
e.g. Ashby | Open roles
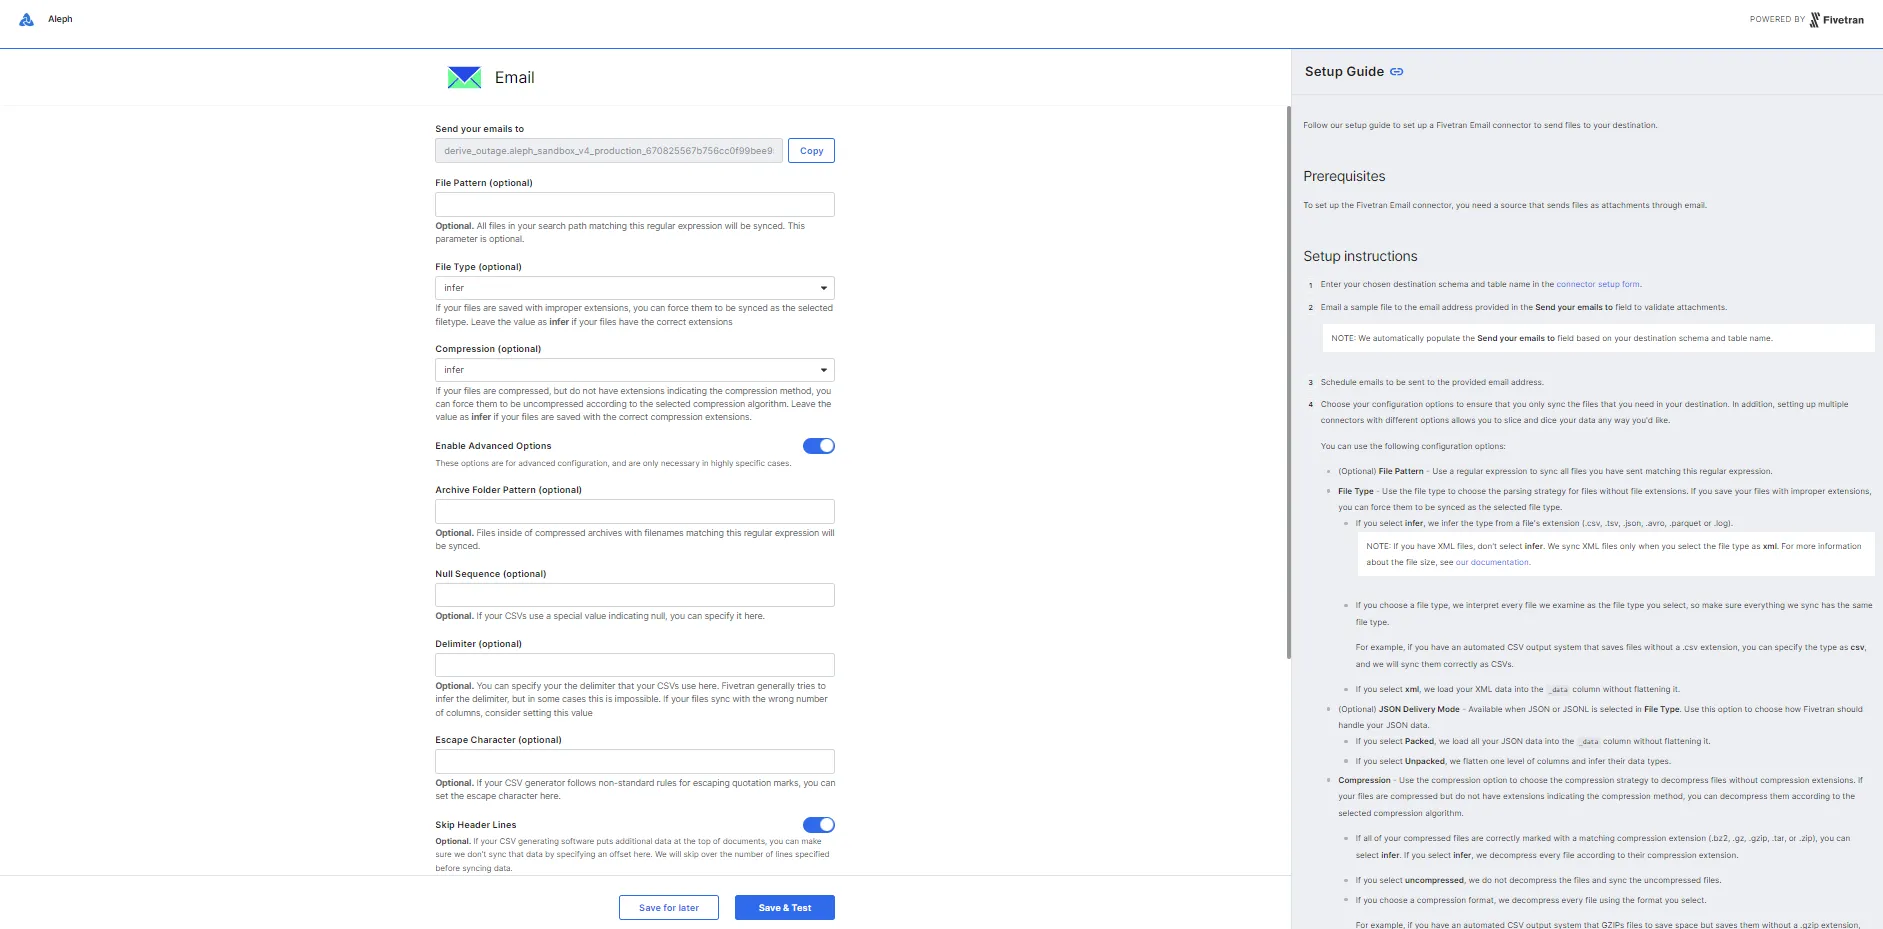
Set up the Basic Configuration
Make sure to copy the auto-generated email address at the top of this page and store it in a safe place for future reference as this will be the email to send the CSV files to going forward. The right hand side of the screen explains in detail all of the possible configuration options. Please go through these optional configuration steps and make changes as needed.
"Skip Header Lines" and "Skip Bottom Lines" are by default activated. Typically users don't need it for clean CSV files.
If you have a standard CSV file with no extra rows, then click on the toggles to deactive both settings.
Send CSV File to the Generated Email Address and Finish the Setup
Open your email account and send your CSV file to the email address copied from the previous step. After sending the email, wait 1-2 minutes to allow the software to process the file.
Once completed, go back to the previous screen and click "Save & test" and wait for the tests to run.
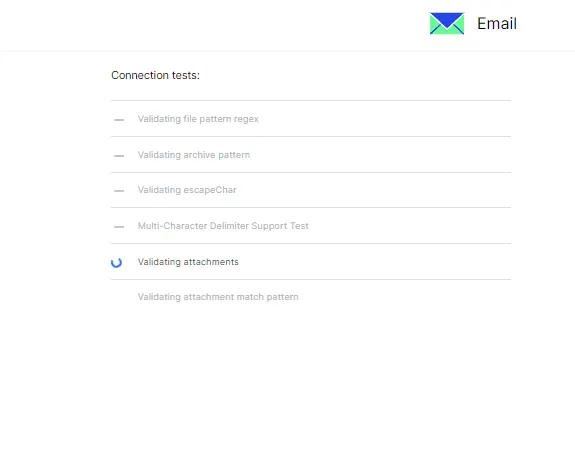
Once the tests are complete, you will be automatically redirected to Aleph's integration page and from here click "Save" on your integration.
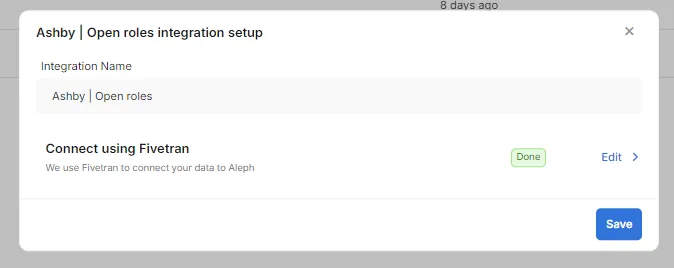
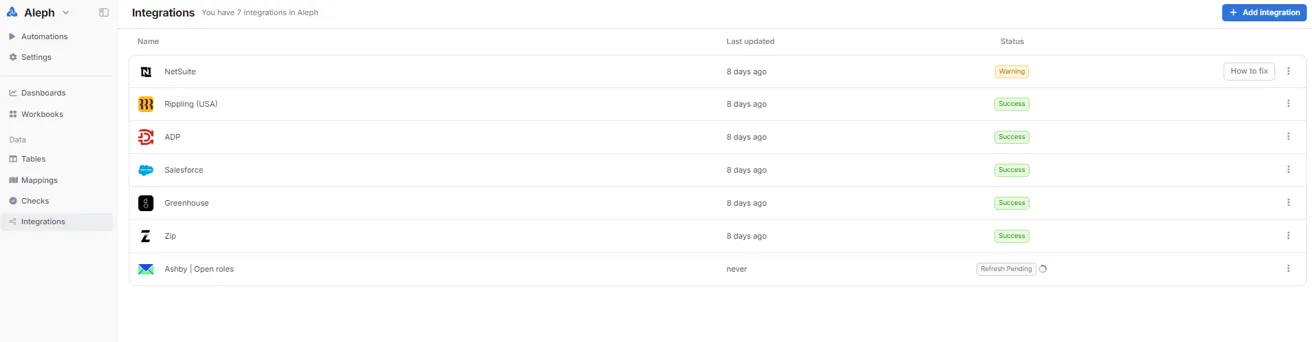
Your first CSV integration is now finished! Aleph will start processing the CSV files sent via email and create/update the table. Once Aleph is done processing the file (about 10-15 minutes), the status will change from "Refresh Pending" to "Success".
Regularly Updating a CSV Integration
CSV Structure
Every time you send a CSV file, Aleph will match the columns in the CSV file with those currently in the table. If the system can't find a column in the table that matches one in your CSV file, then it will add a new column.
In order to avoid mistakes and errors, we advise you to keep your CSV structure and column names consistent.
Once a CSV file is sent, it can't be deleted by the end user. Please contact support@getaleph.com to delete files or unnecessary columns
Appending Information
By default, every time you send a CSV file, Aleph will append the information in the file to existing rows in the table. If you are interested in overwriting the information, please contact support@getaleph.com.