Create surveys in IMPACT
Last updated: September 20, 2024
Learn how to create surveys in IMPACT to gather valuable feedback and insights, enhancing decision-making and organizational effectiveness.
📽 Check out our video tutorial on how to create surveys in IMPACT
📝 Here is a step-by-step guide on how to create surveys in IMPACT
1. Navigate to https://app.plai.team/
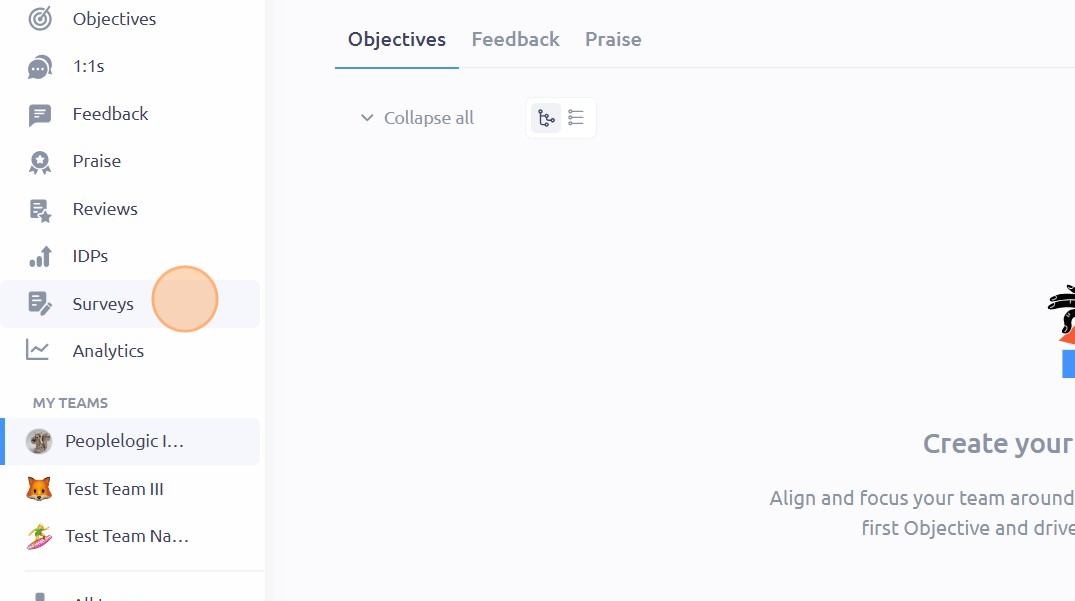
2. On the left-side panel, click "Surveys"
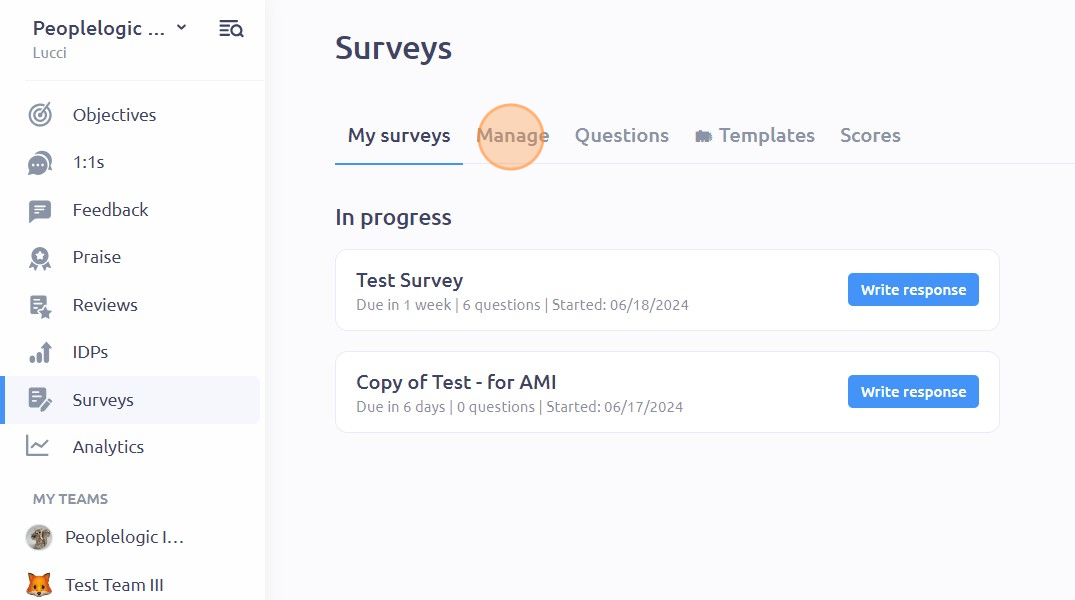
3. Click "Manage"
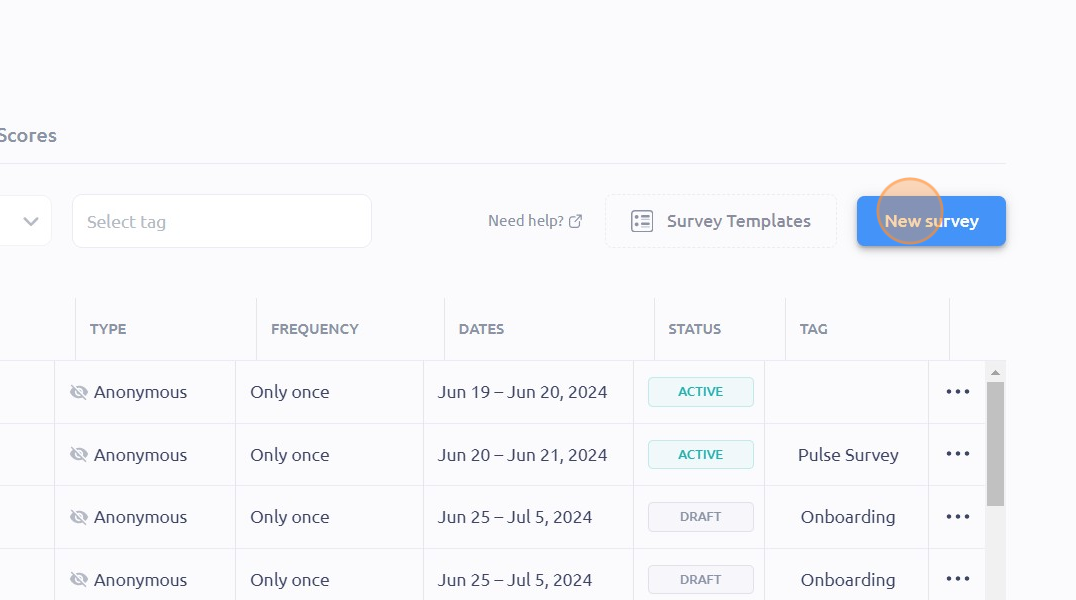
4. Click "New survey"
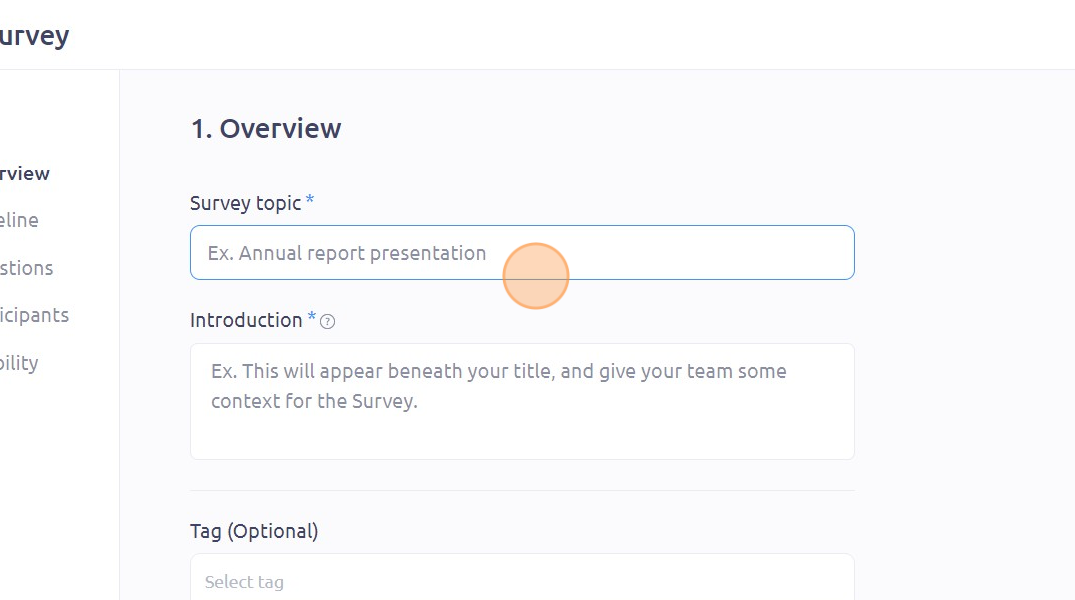
5. Click the "Survey topic" field and type your desired survey topic
6. Click the "Introduction" field and type your desired introduction
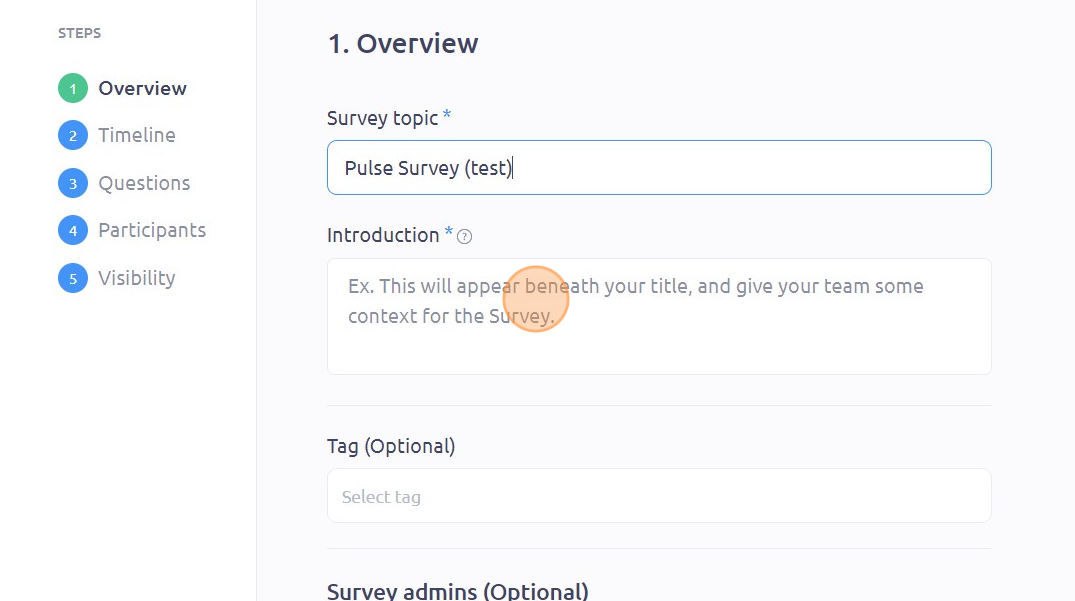
7. Click the "Select tag" field to put a survey tag
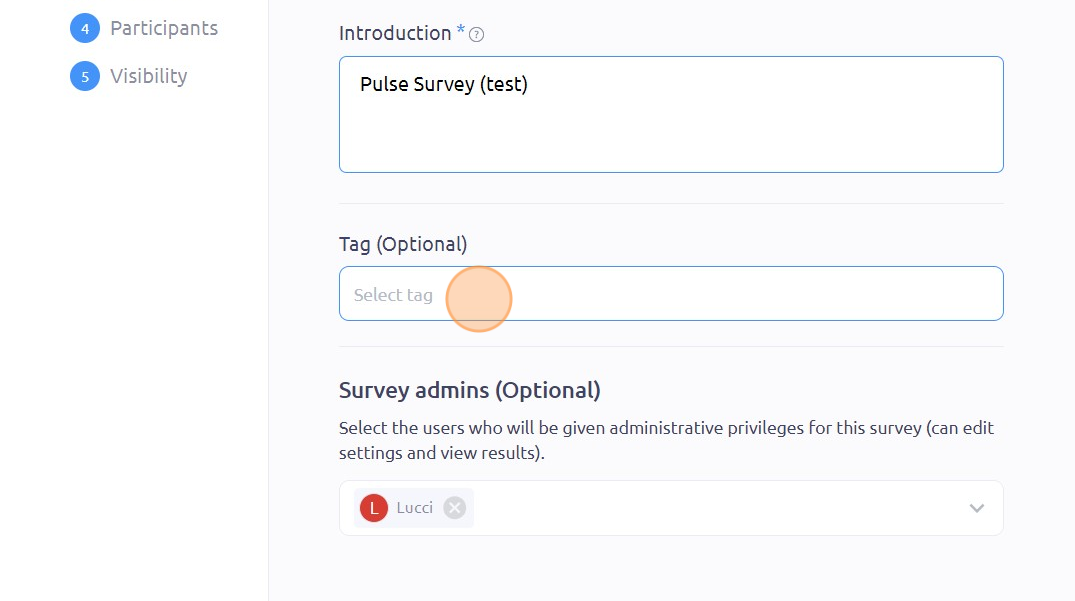
8. You can choose from the ready-made tags available or make a new tag
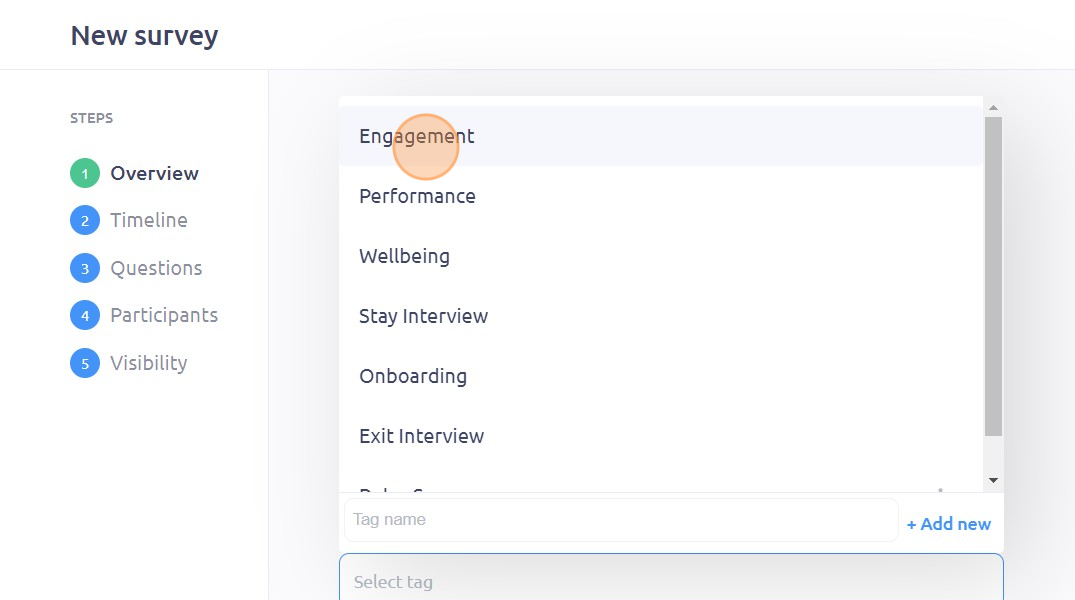
9. To make a new tag, type your desired tag name in the "Tag name" field.
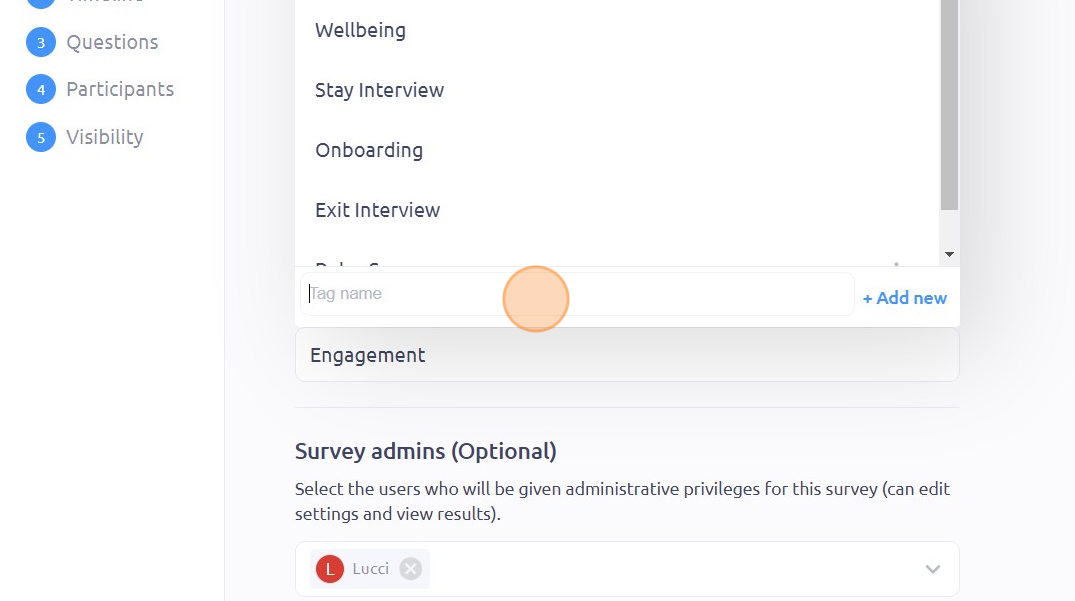
10. Click "+ Add new"
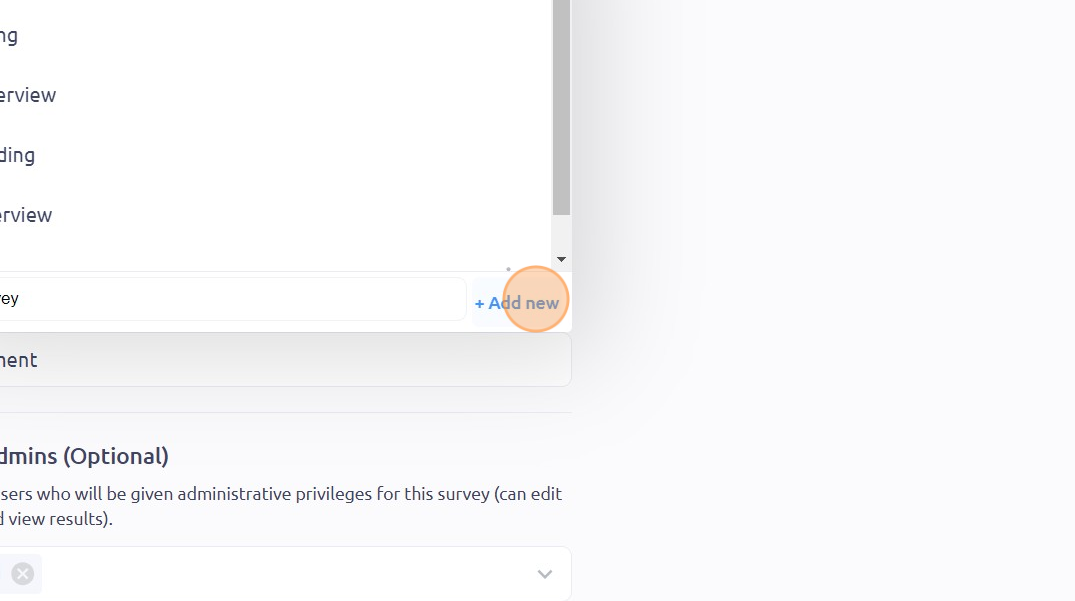
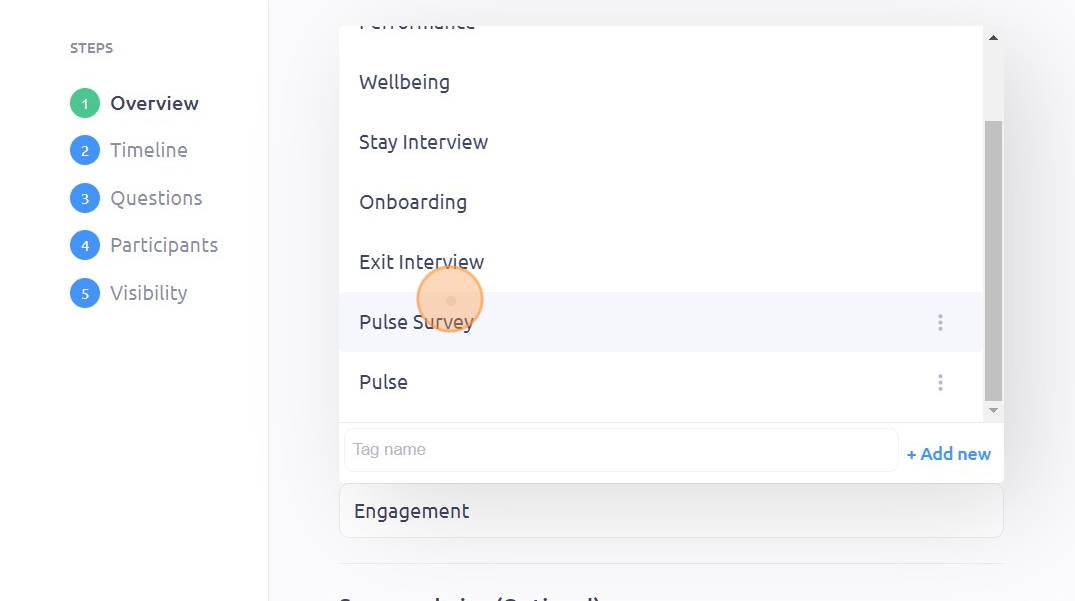
11. Select the new tag you made to add it to as a survey tag
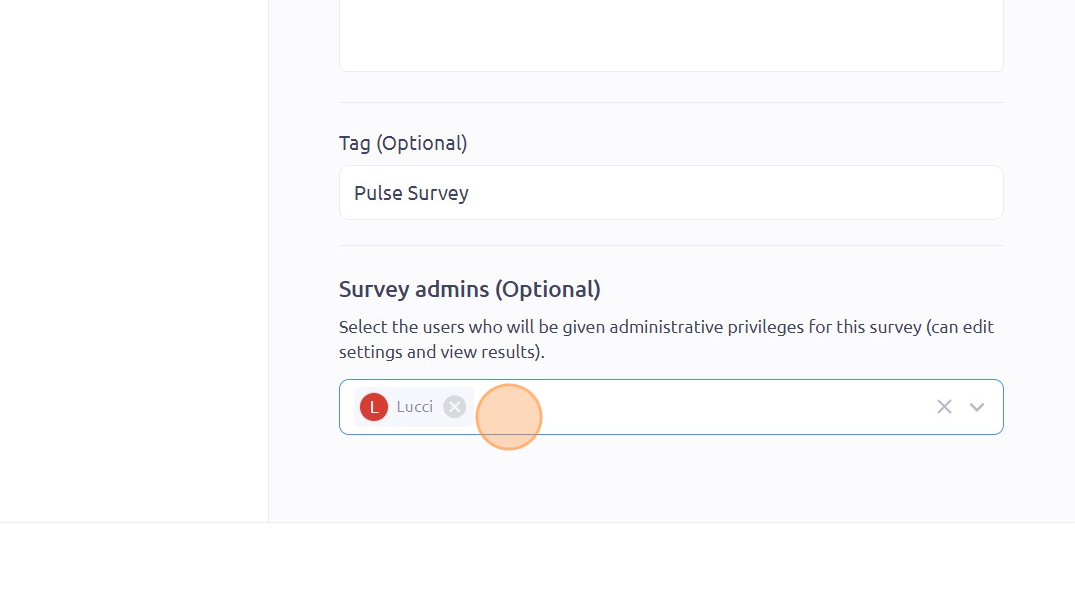
12. Click the "Survey admins" field to add other users you want to give admin privileges to
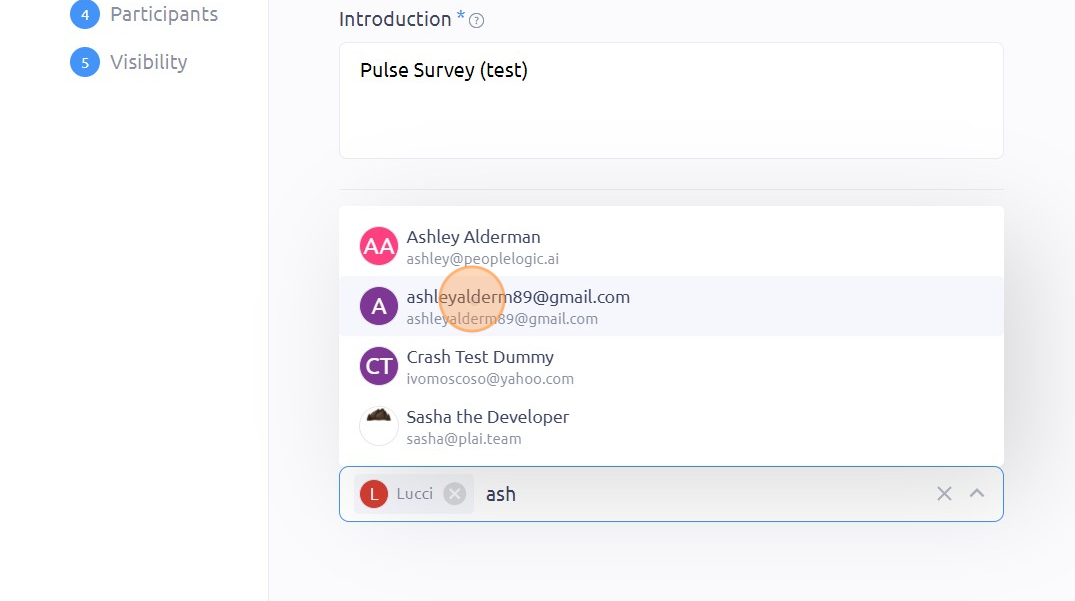
13. Select their name from the drop-down menu
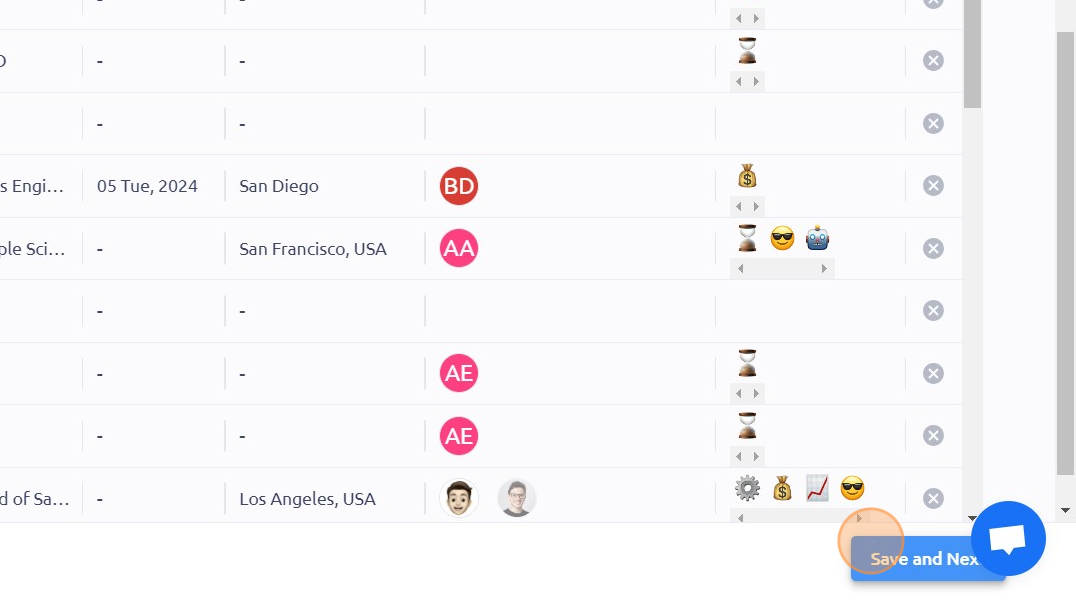
14. Click "Save and Next"
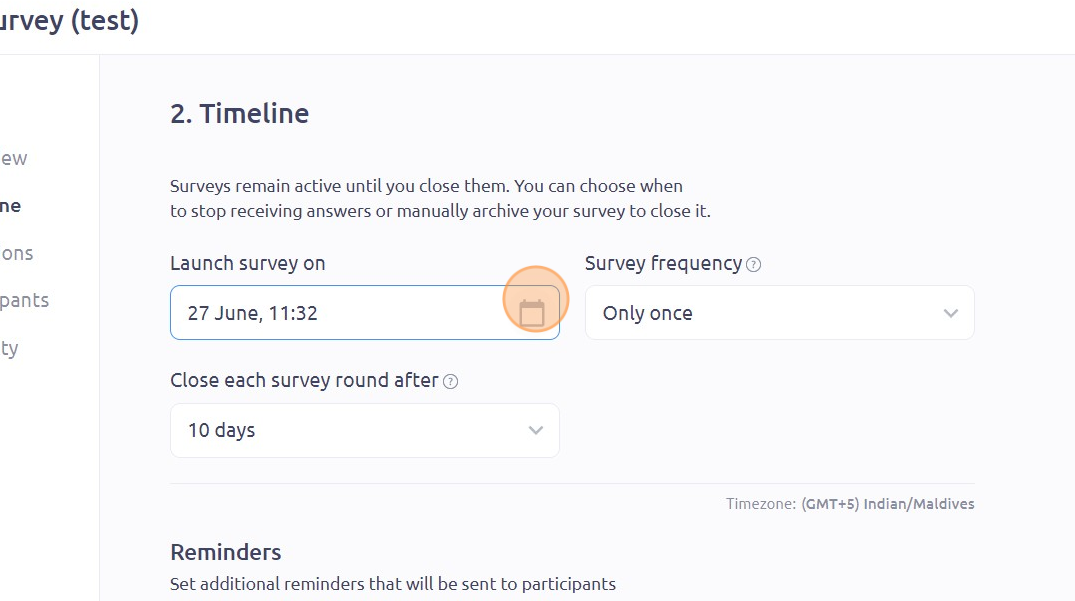
15. You can modify the survey timeline by clicking on the calendar icon
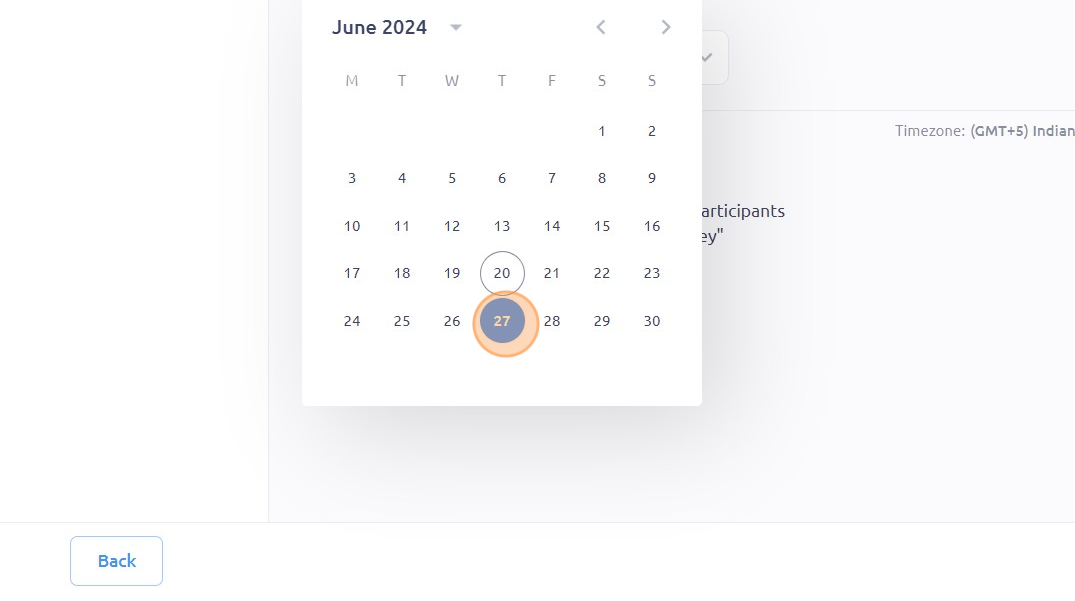
16. Select your desired date
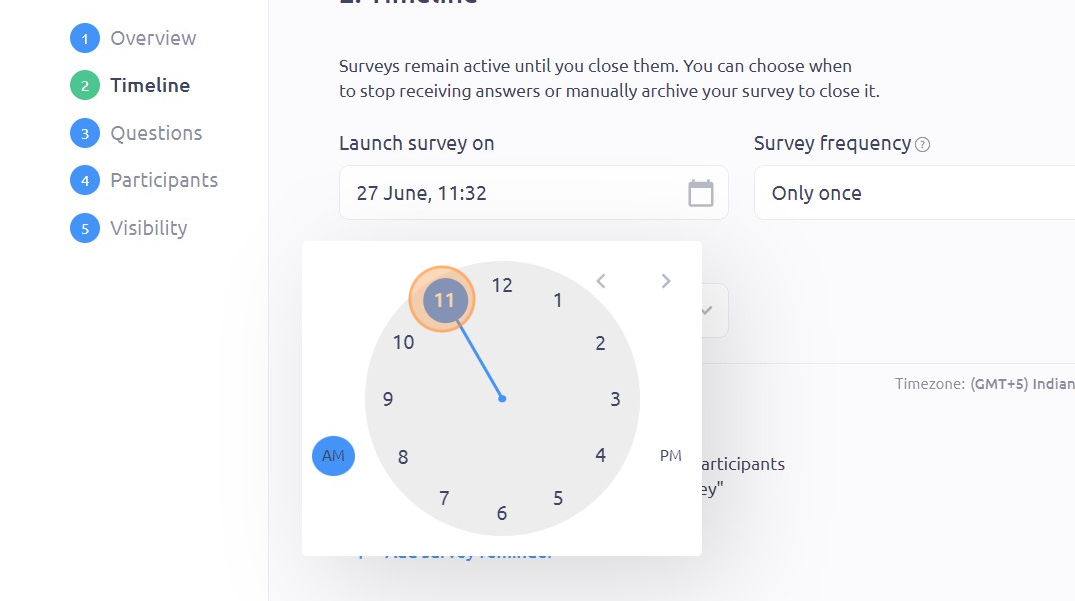
17. Select your desired time
18. Modify your survey frequency by clicking on the "Survey frequency" drop down-menu and select your desired option
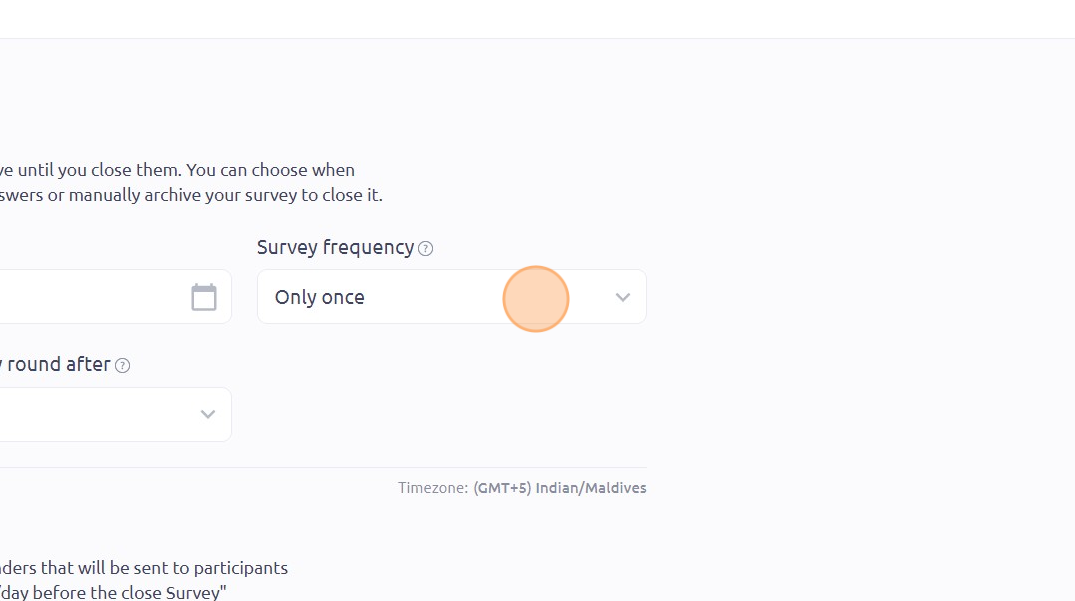
19. You can choose when to close each survey around by clicking here
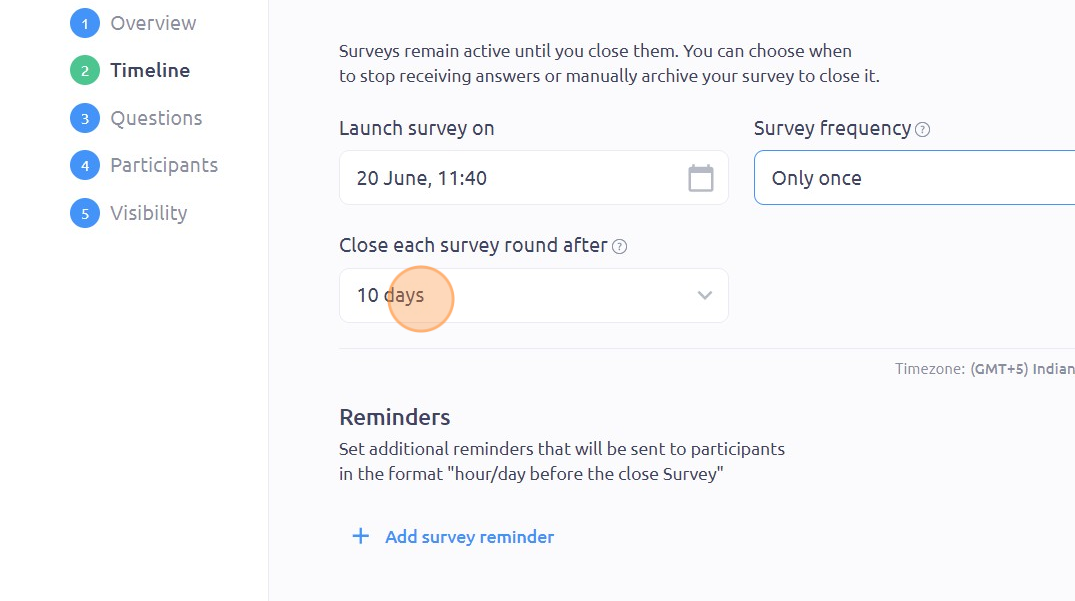
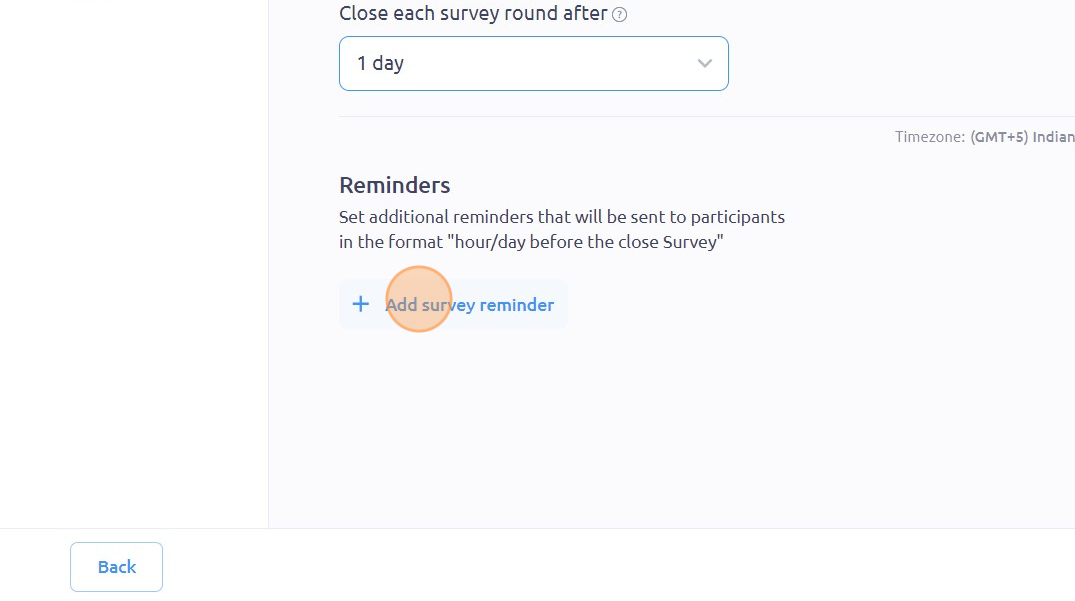
20. Click "Add survey reminder" to add reminders
21. Click "Select reminder time..."
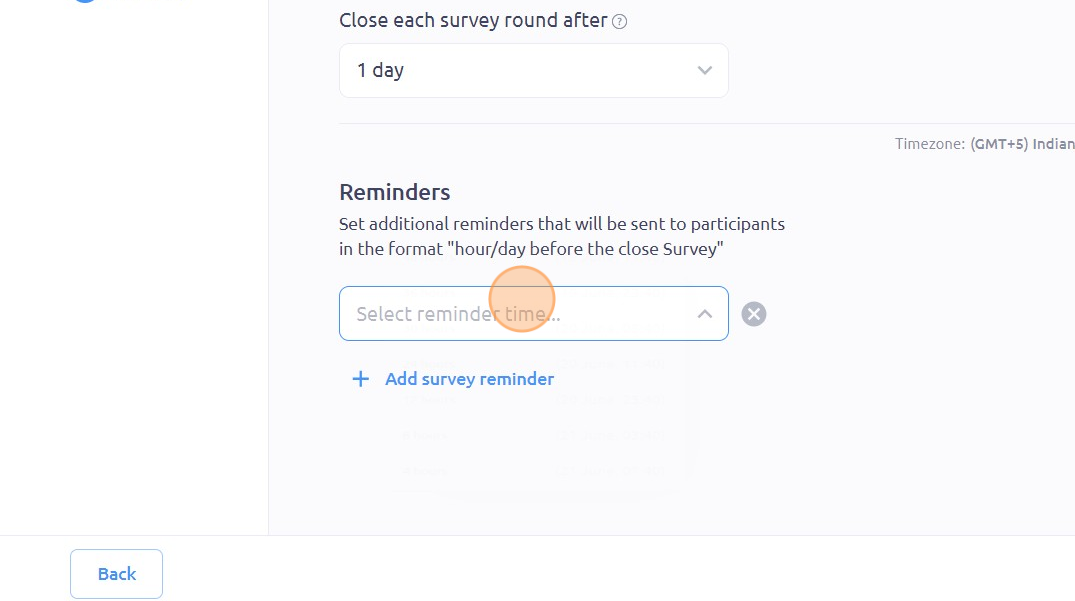
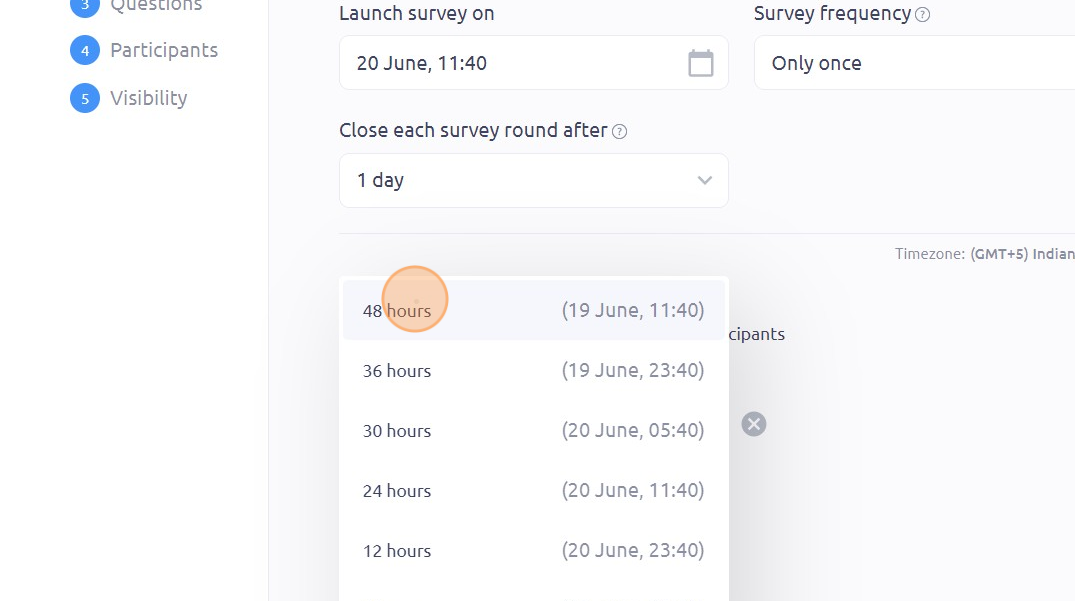
22. Choose your desired reminder time from the list of options
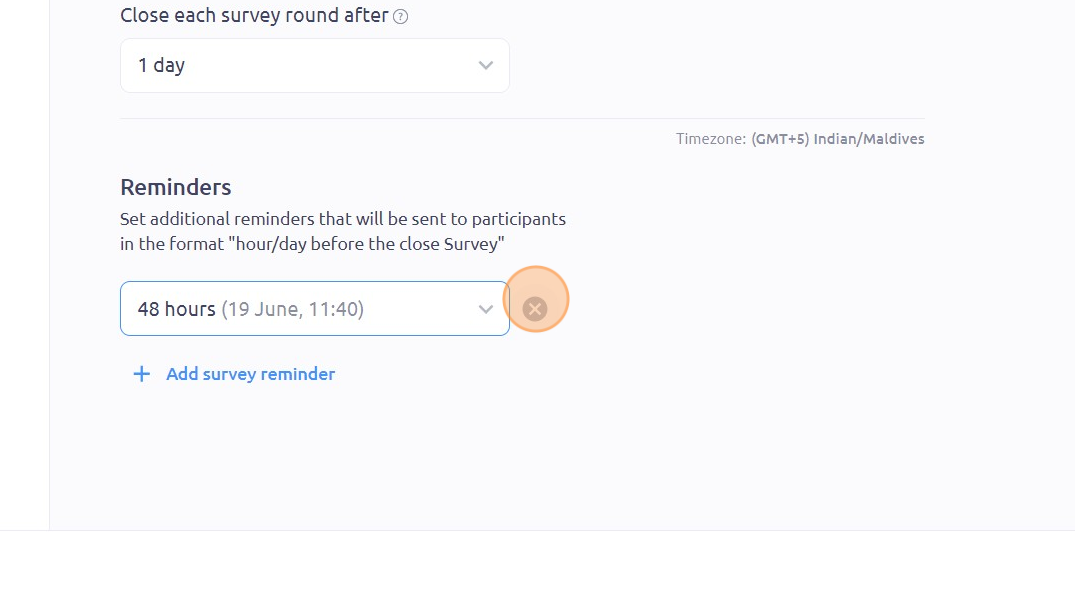
23. You can also delete the reminder by clicking here
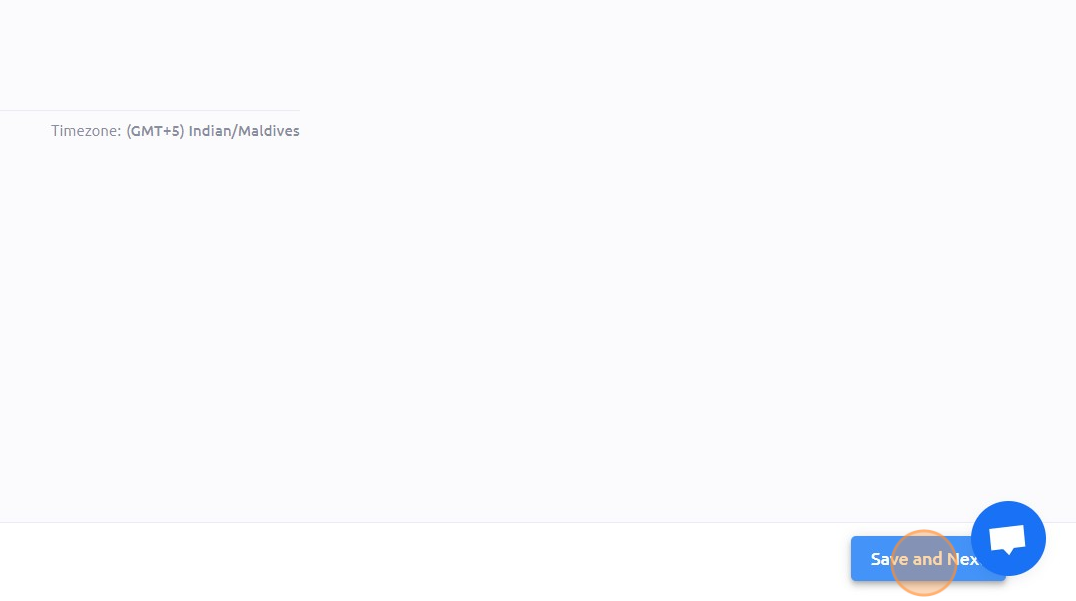
24. Click "Save and Next"
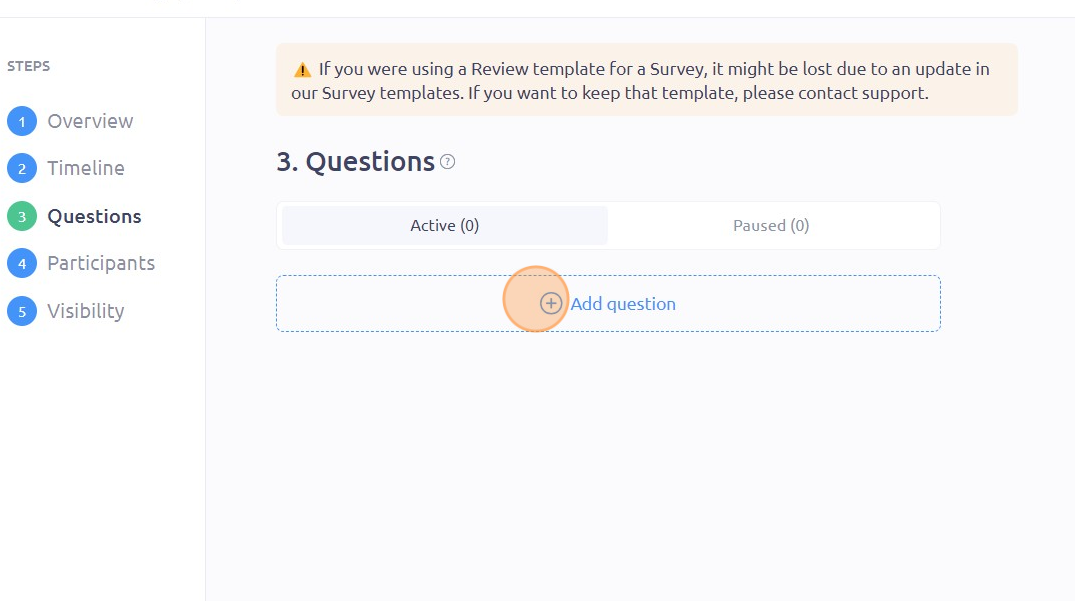
25. Click here to add questions
26. You can choose to add ready-made questions by clicking on the ones that you like
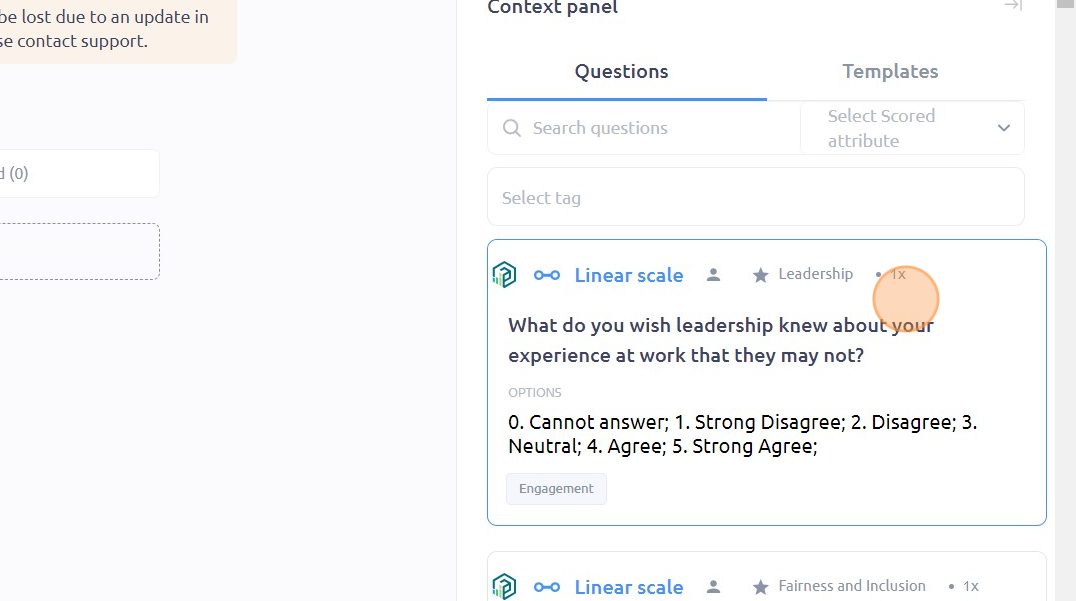
27. You can also choose from the question templates by clicking "Templates"
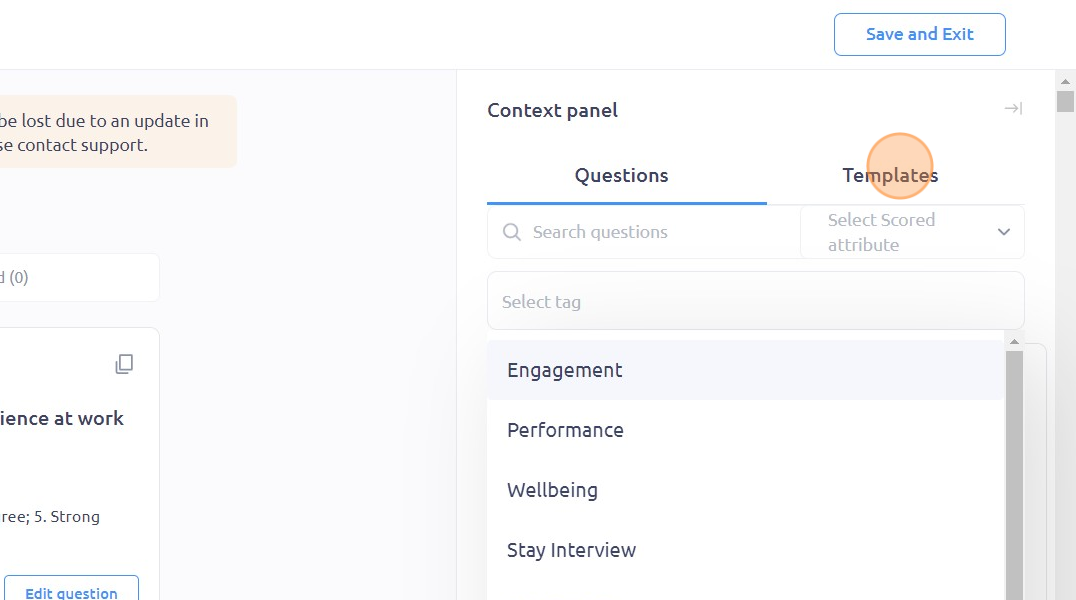
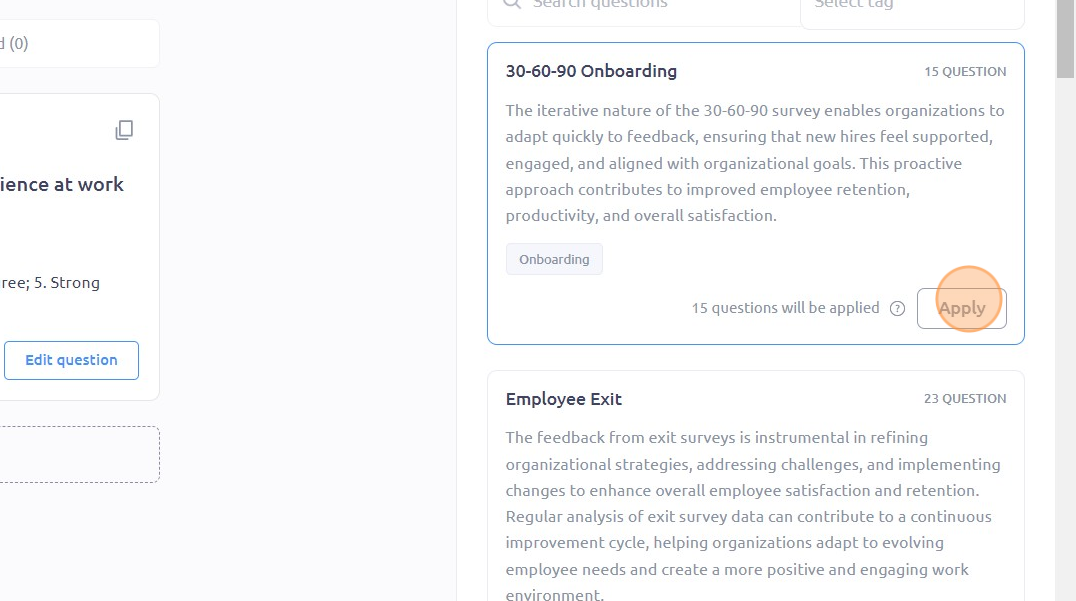
28. Choose the template you desire and click "Apply"
29. Click this icon to delete a question
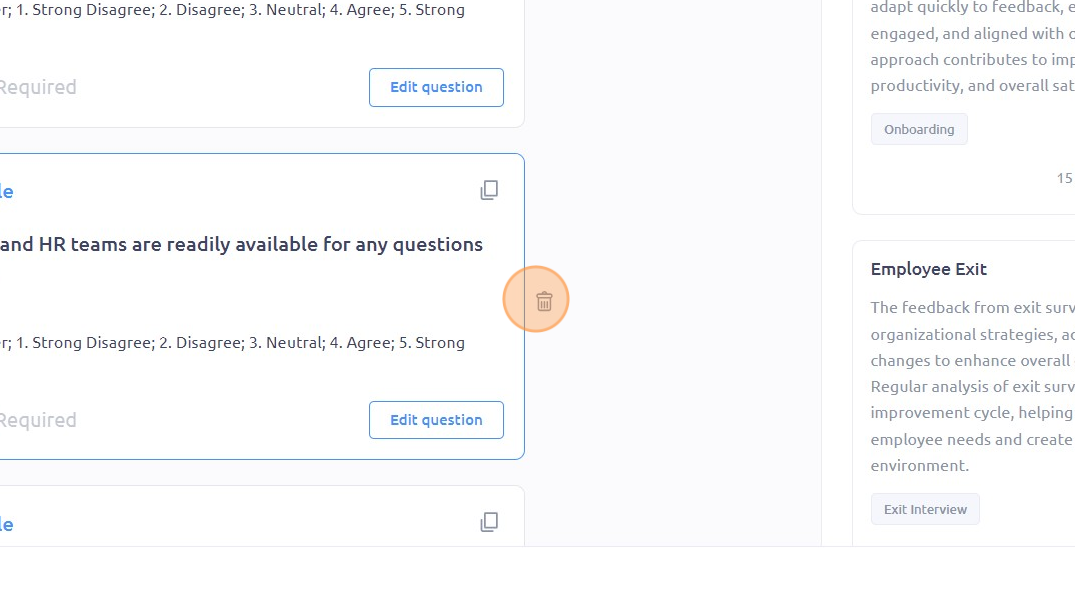
30. Click "Delete"
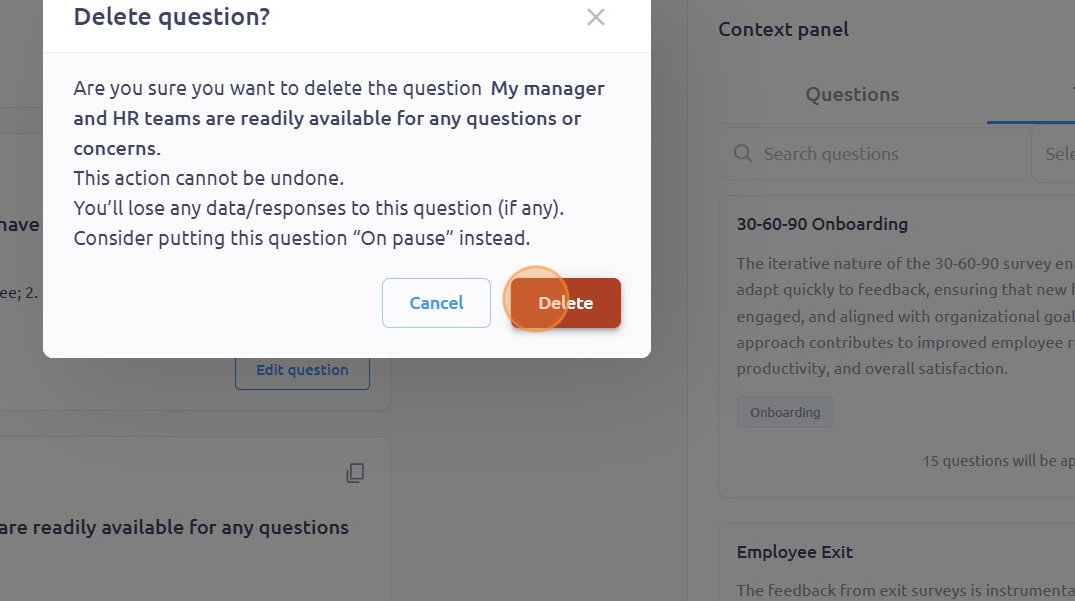
31. Click here to create your own question
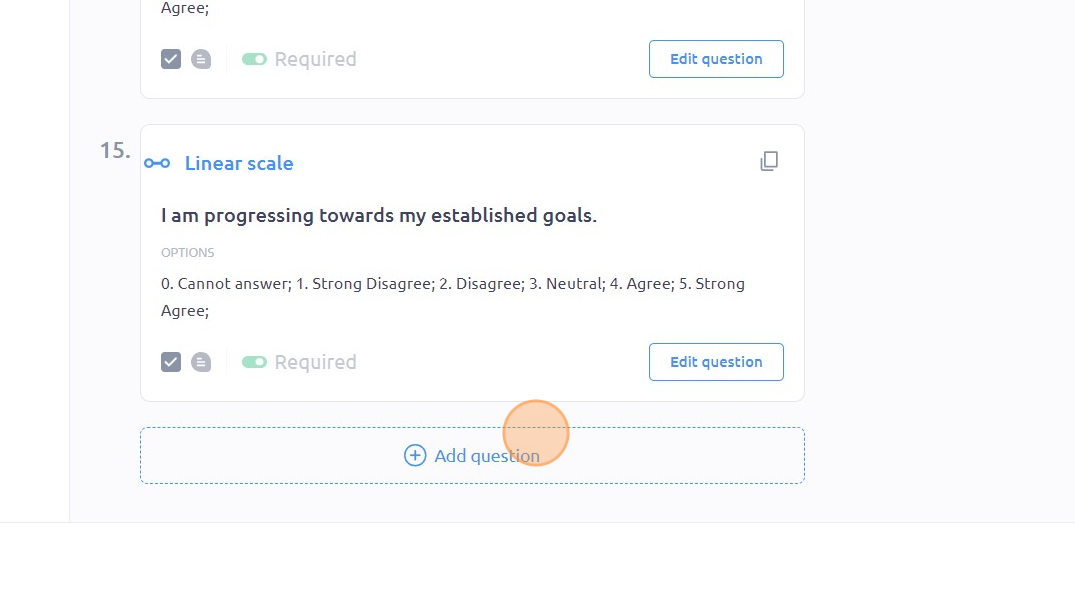
32. Choose the kind of question you desire such as "Multiple choice"
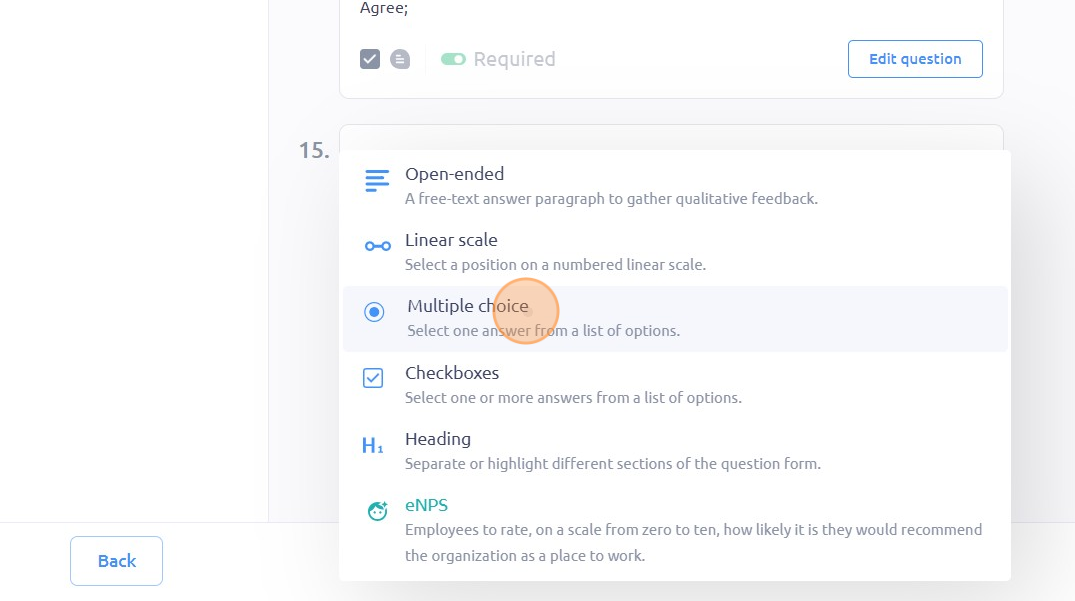
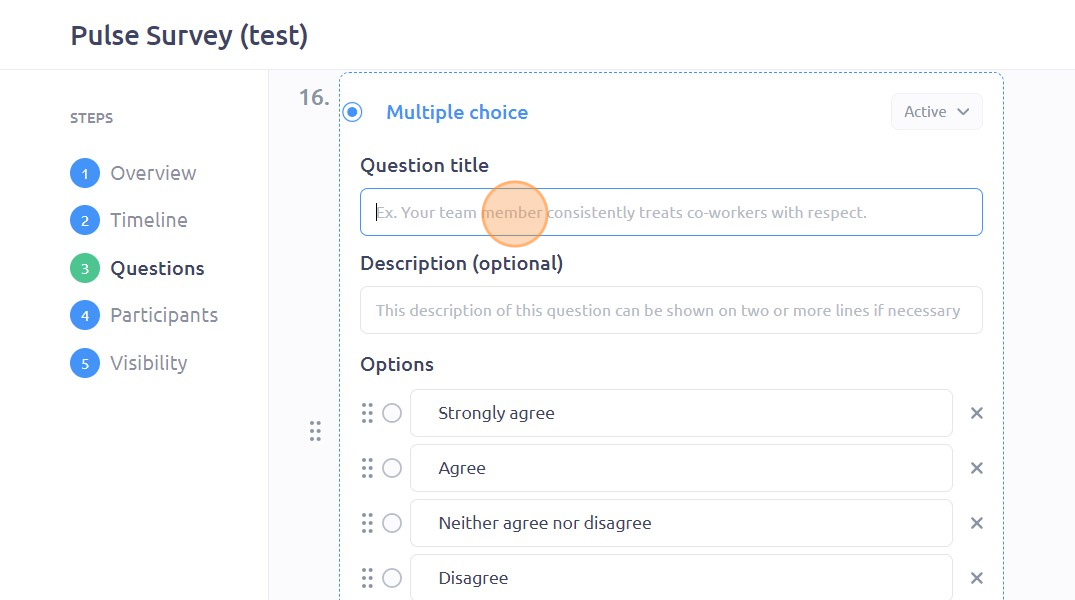
33. Type your question title in the "Question title" field
34. Check this box to allow comments
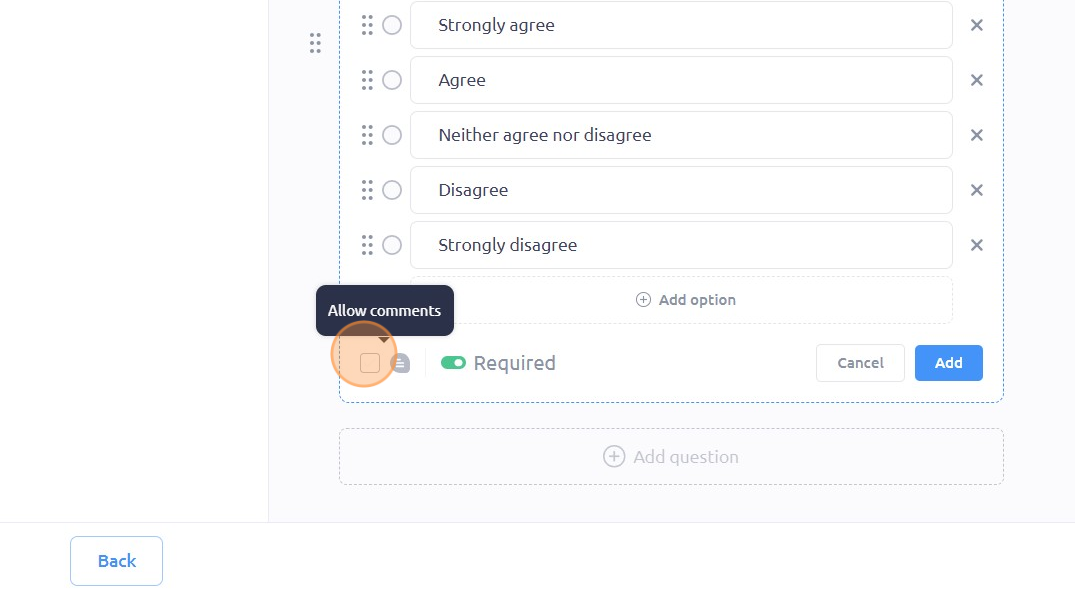
35. Click this button to make the question required or not
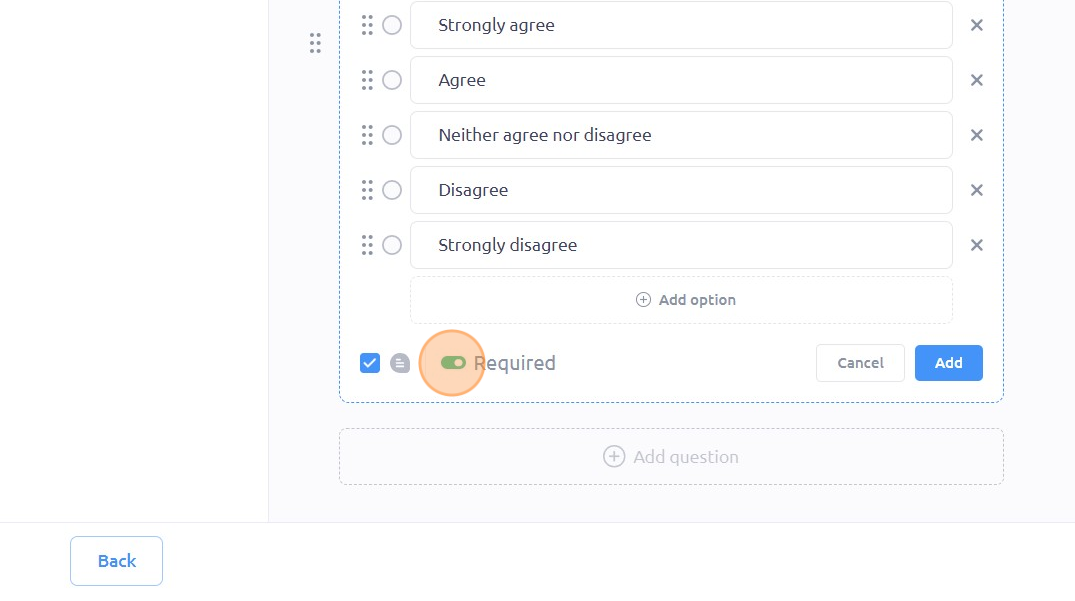
36. Click "Add"
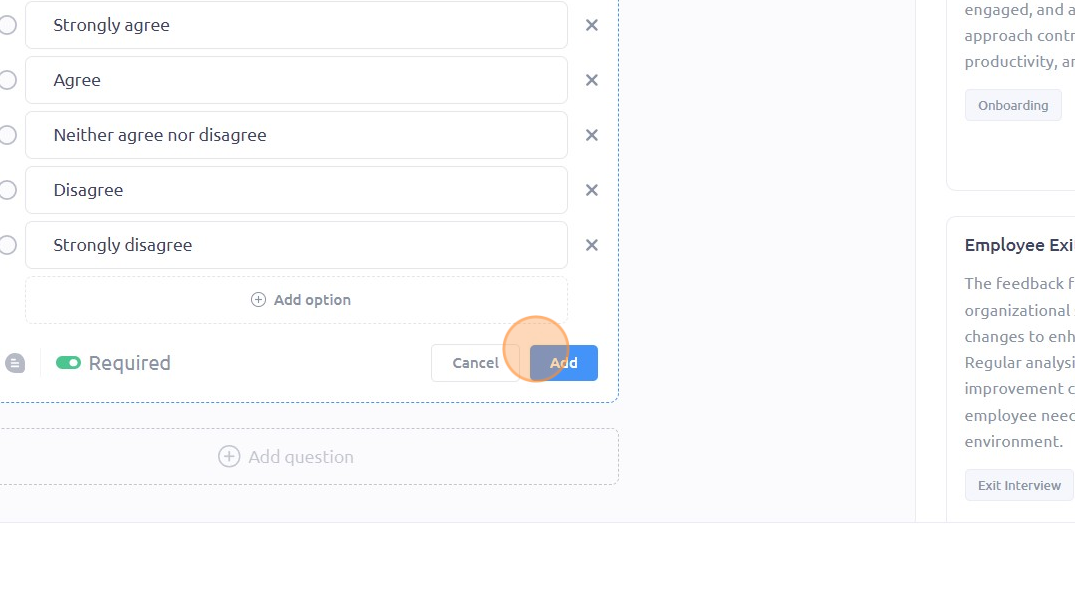
37. To view your survey, click "Preview"
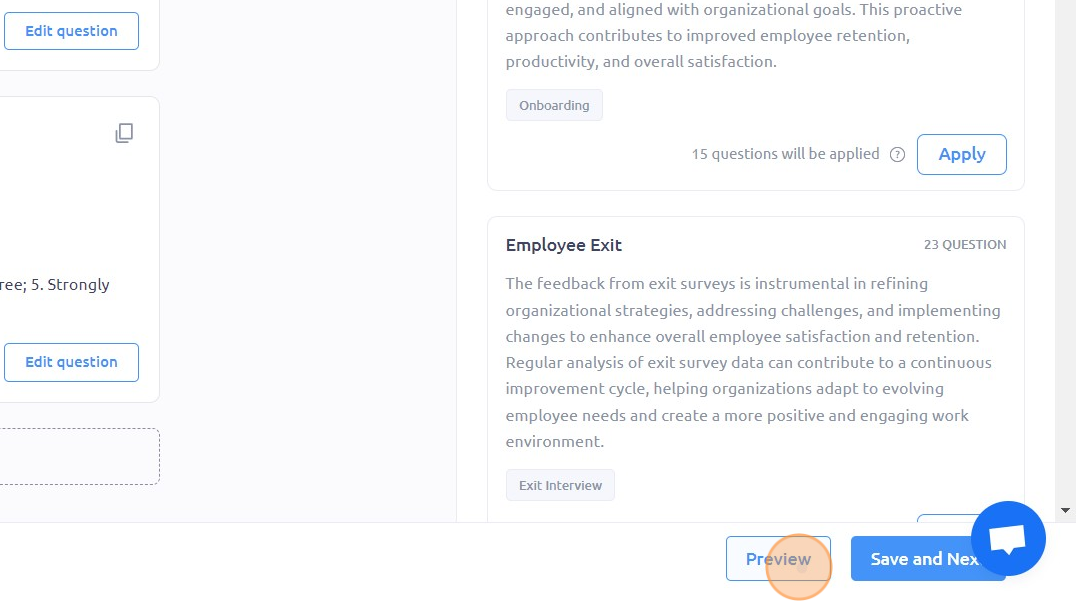
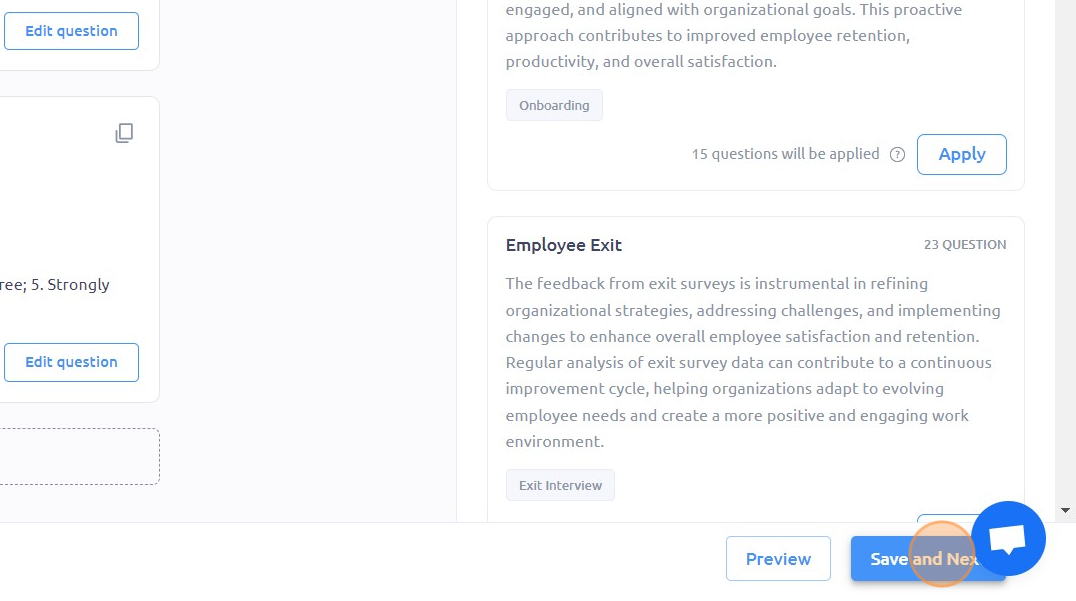
38. To proceed with creating the survey, click "Save and Next"
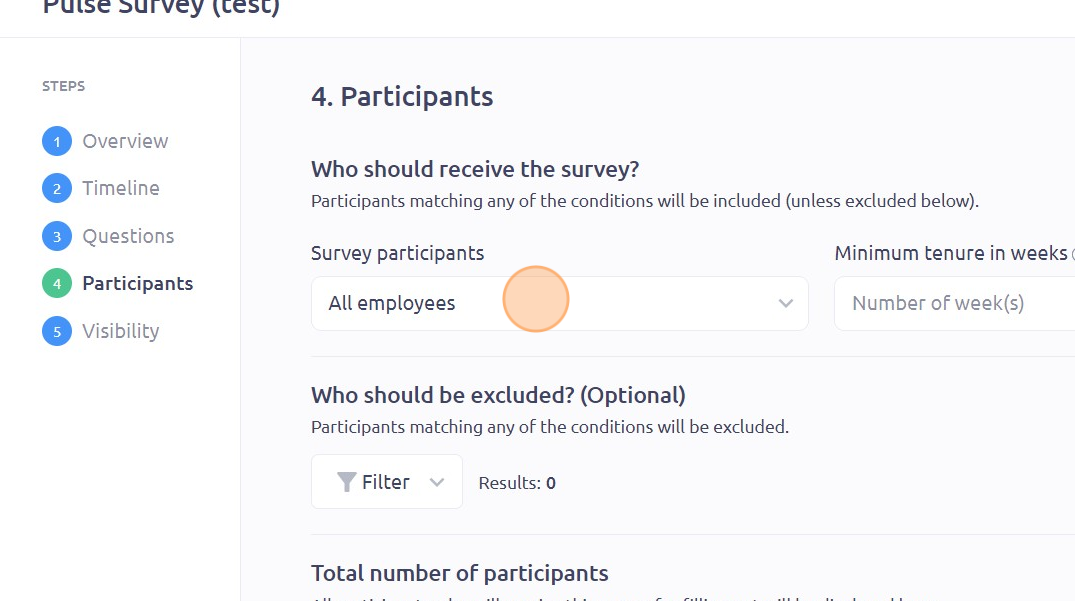
39. To modify survey participants, click here
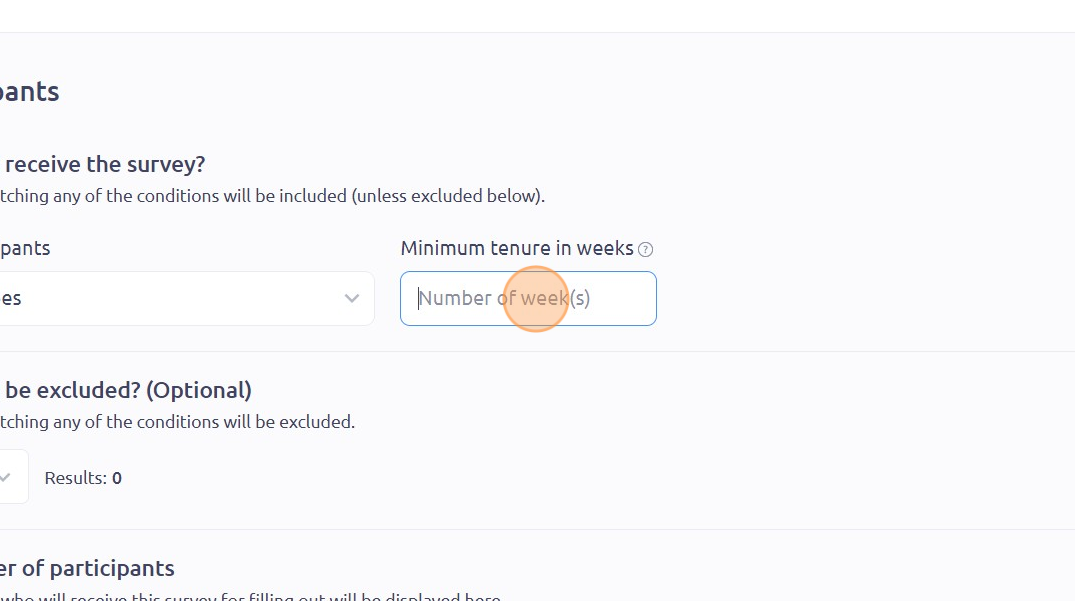
40. Type the number of weeks you prefer in the "Minimum tenure in weeks" field
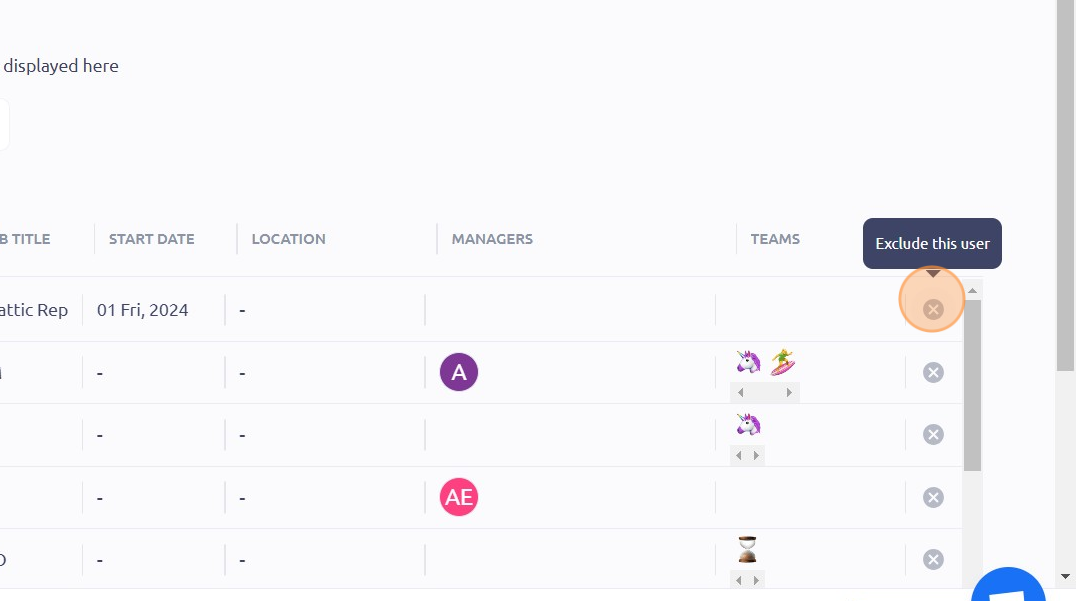
41. To exclude a user, click the "x" icon that is aligned with the user's name
42. Click "Save and Next"
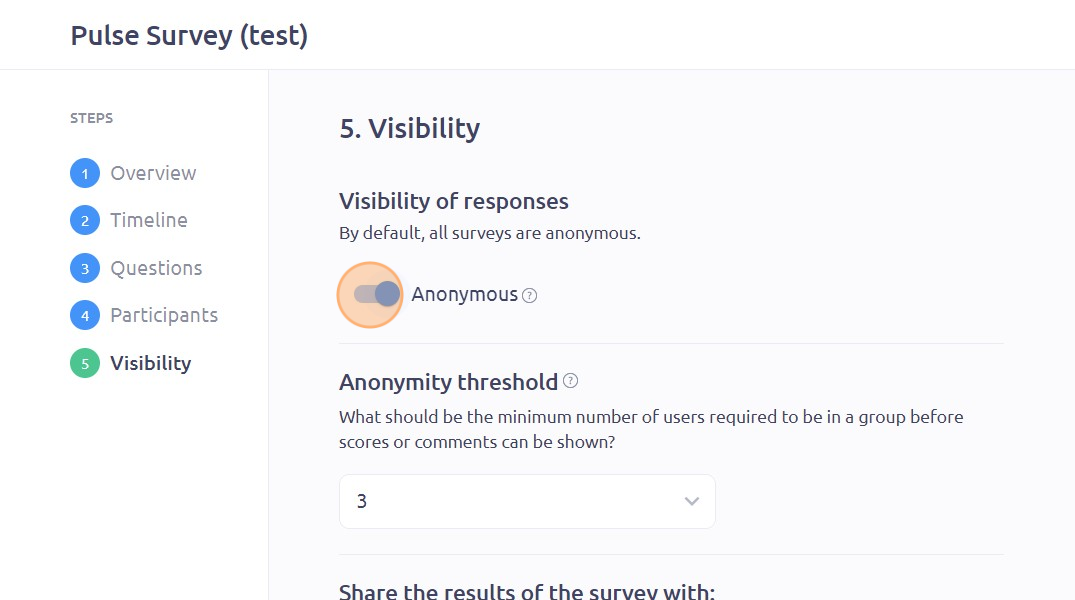
43. Click this checkbox to edit to make the responses anonymous or not
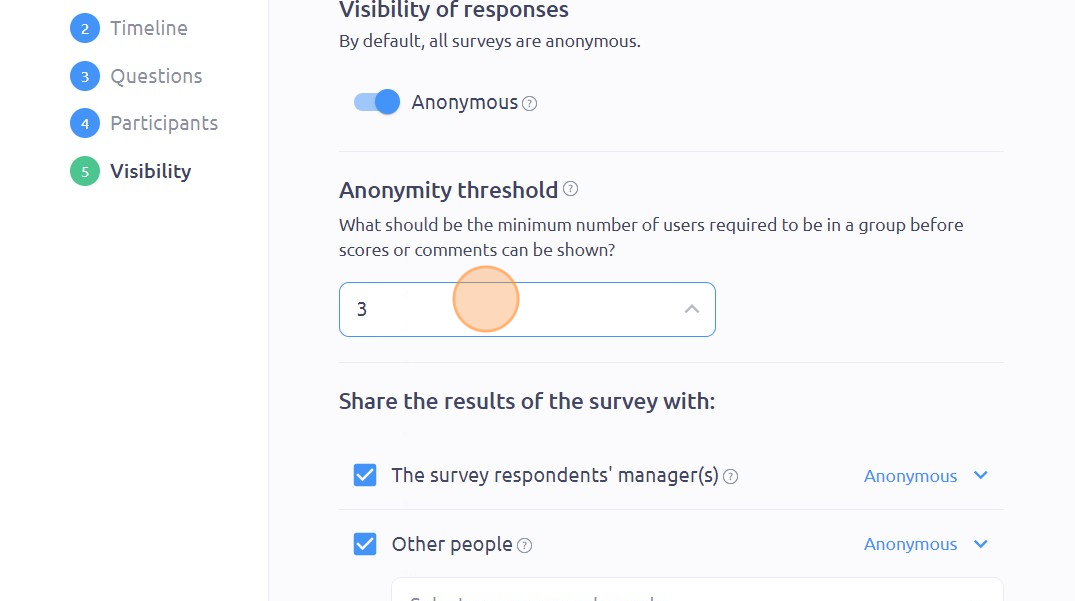
44. Set an anonymity threshold by clicking here
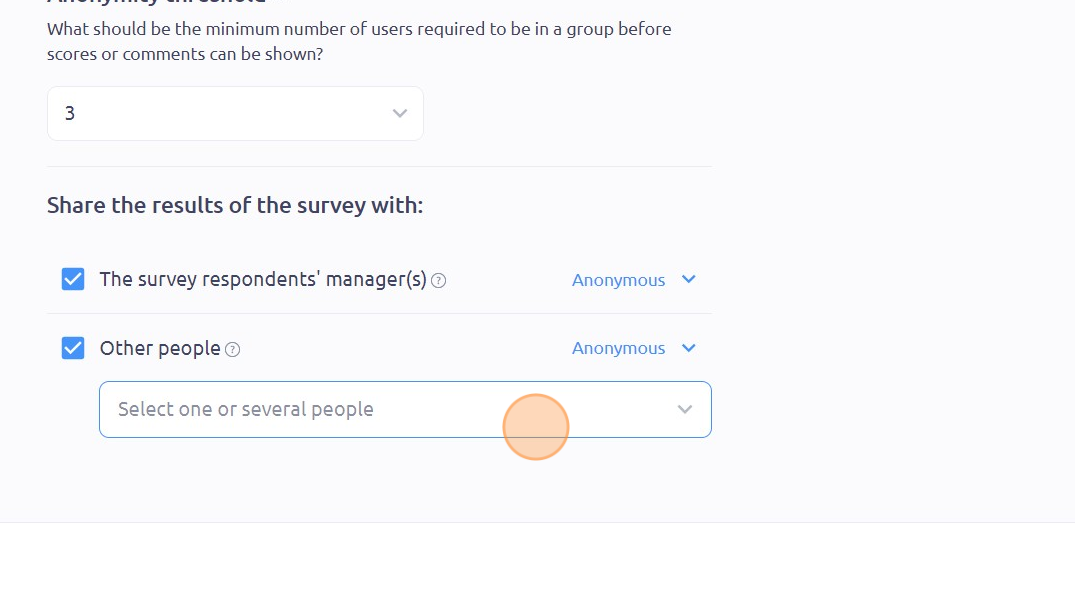
45. Check the appropriate box of the users you want to share the results of the survey with
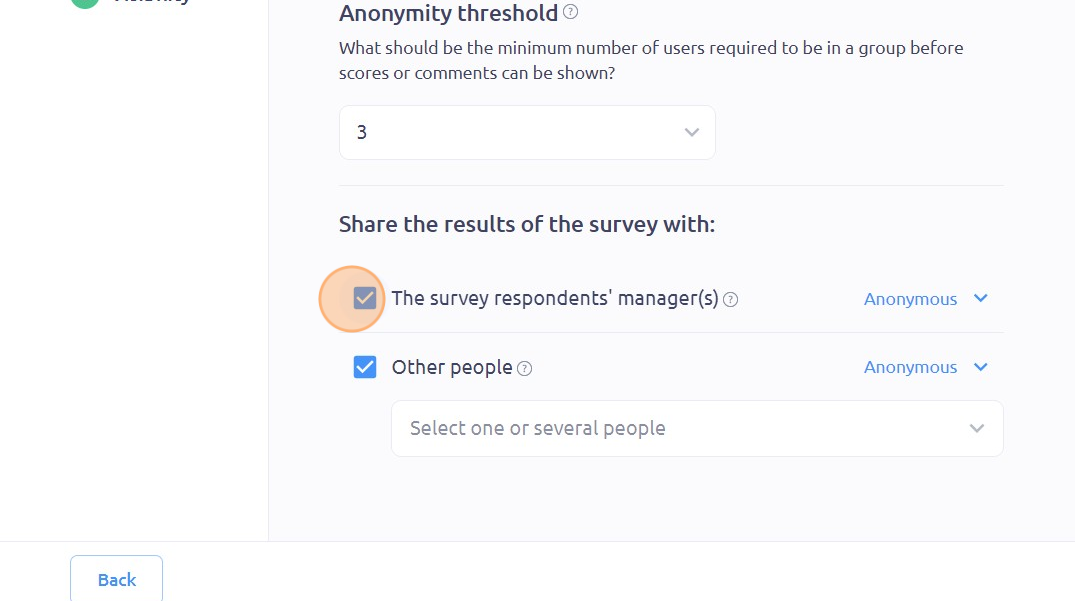
46. You can edit the anonymity of the results by clicking here
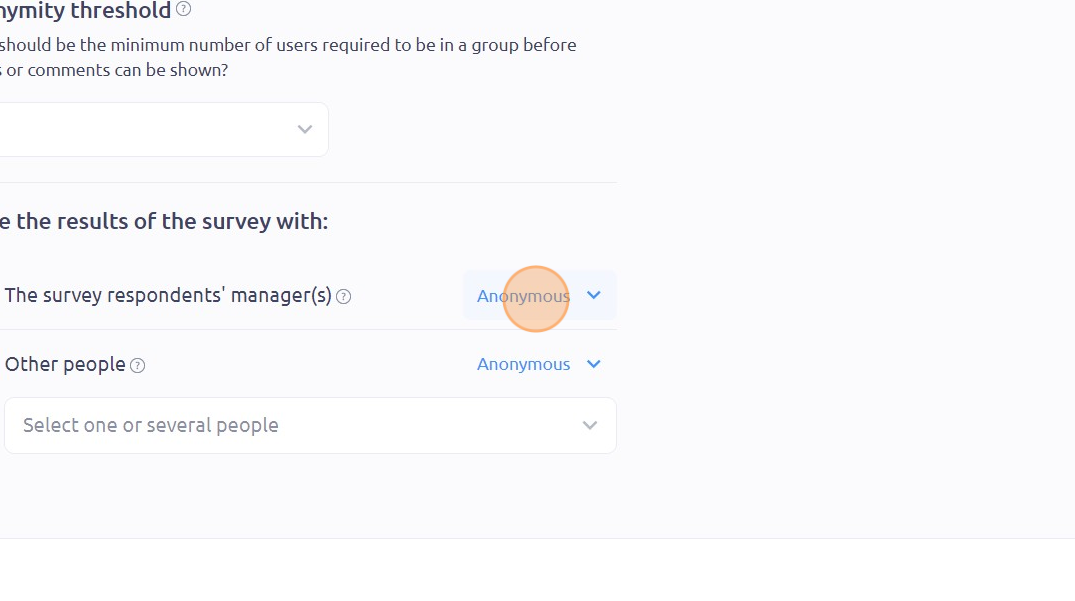
47. Click the "Select one or several people" field to add users you want to share the results of the survey with
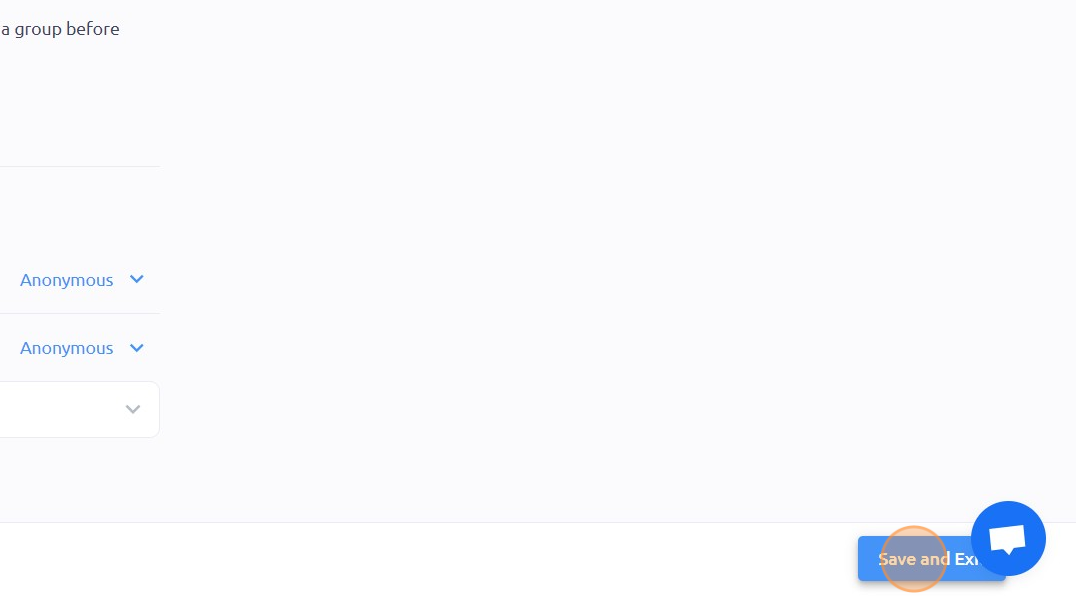
48. Click "Save and Exit"
49. Click here to make some actions on your survey
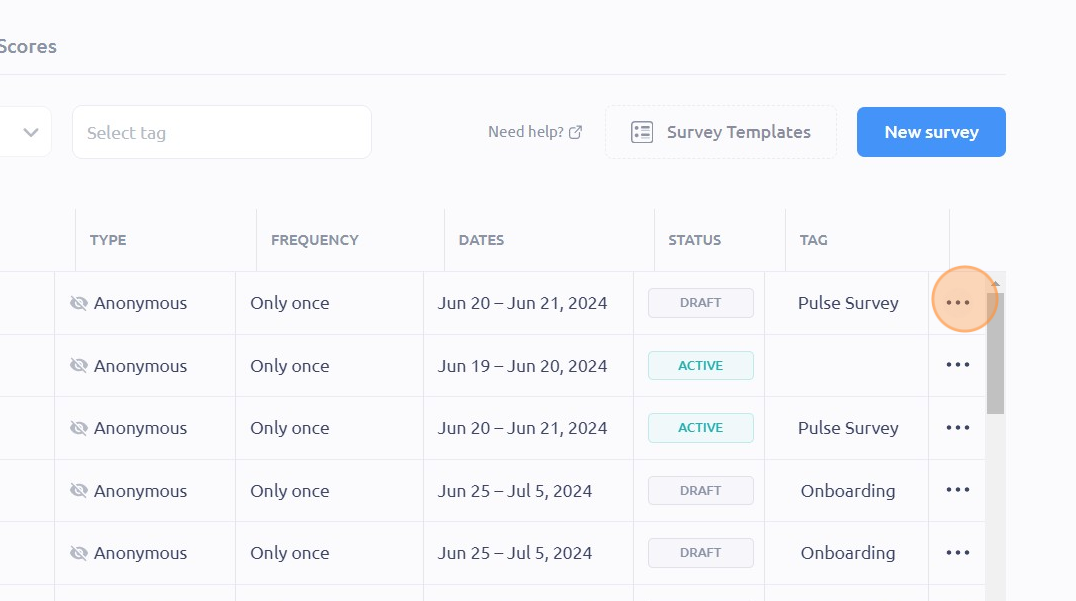
50. You can edit, start, copy, delete or make the survey active from this menu
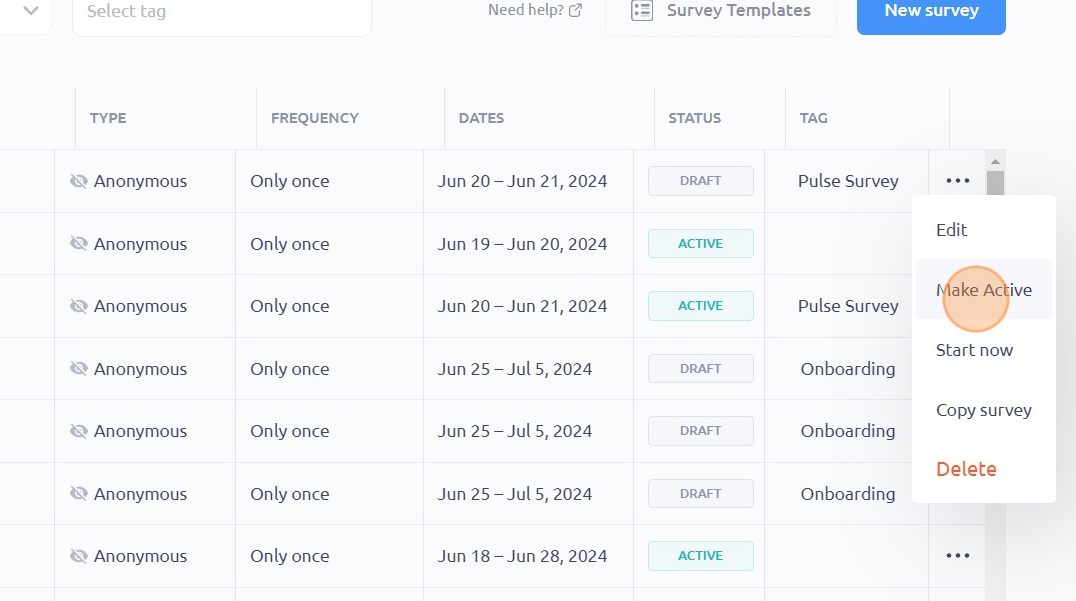
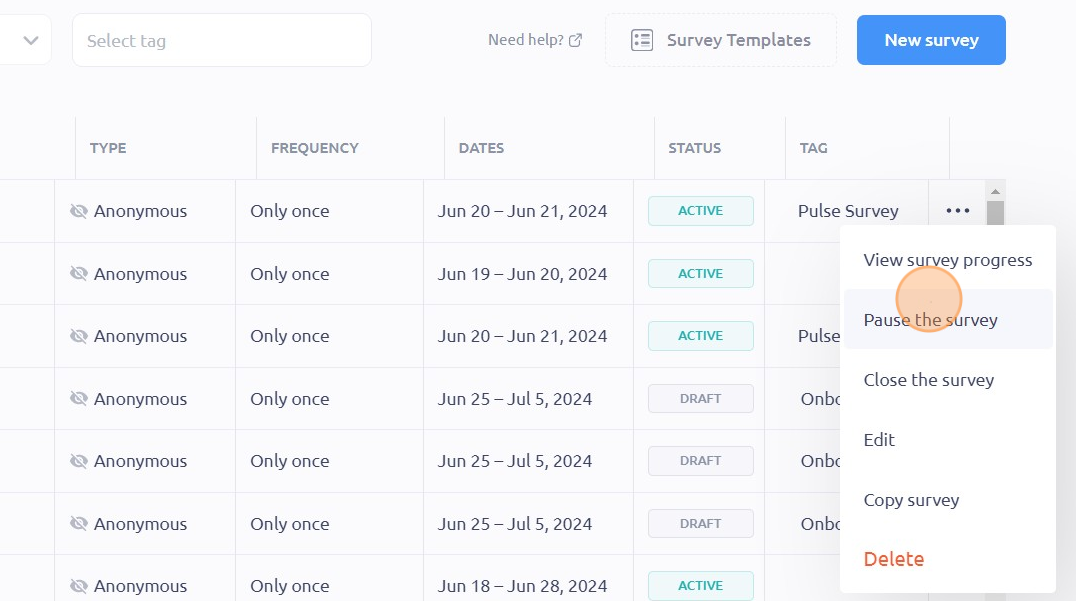
51. Once the survey is active, you can click on the three dots again and click "Pause the survey" to pause the survey
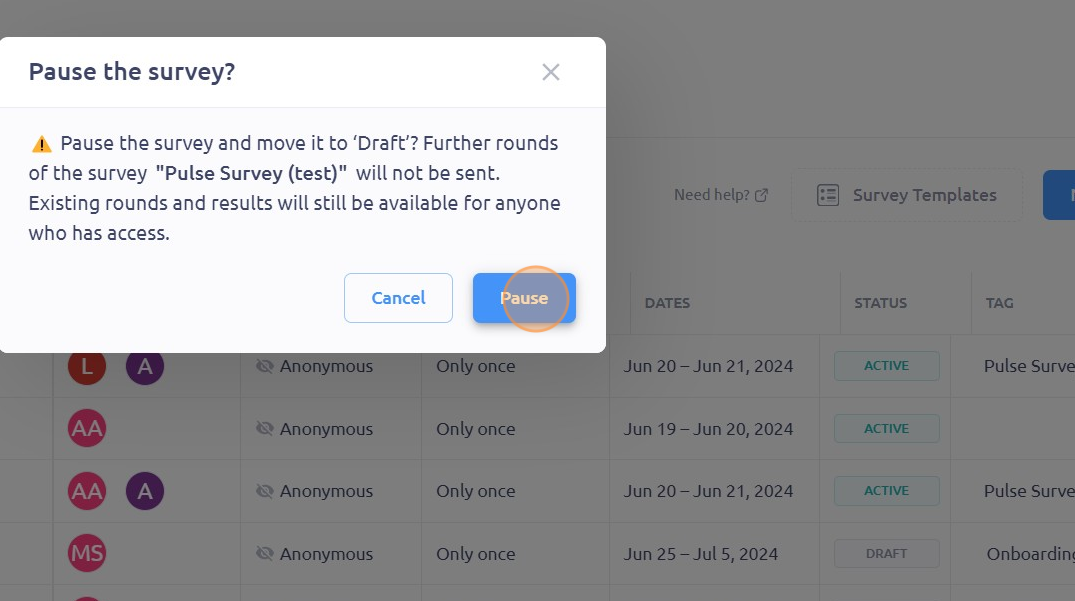
52. Click "Pause"
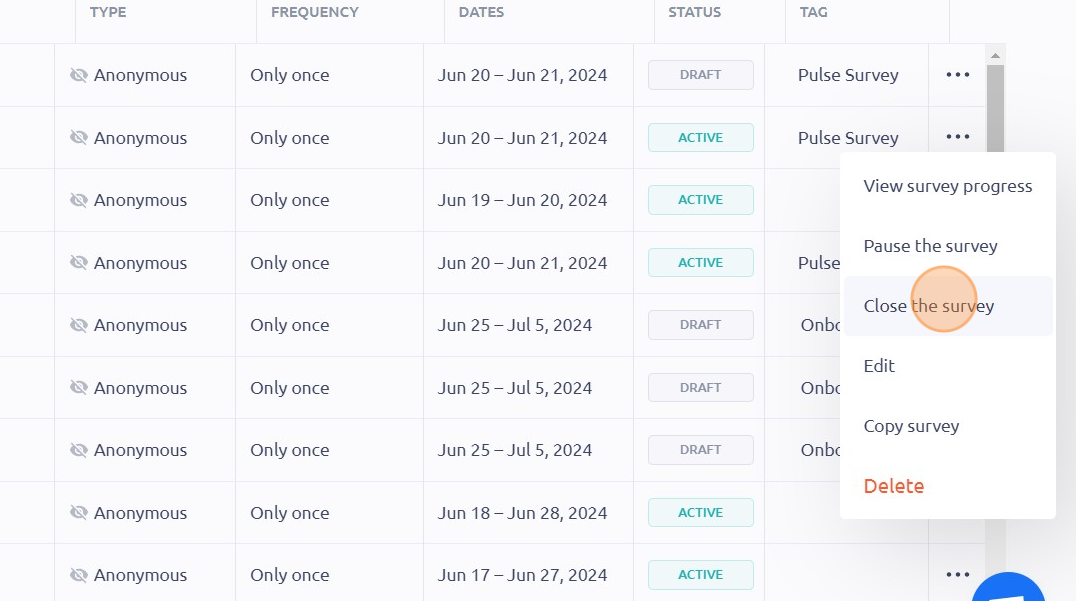
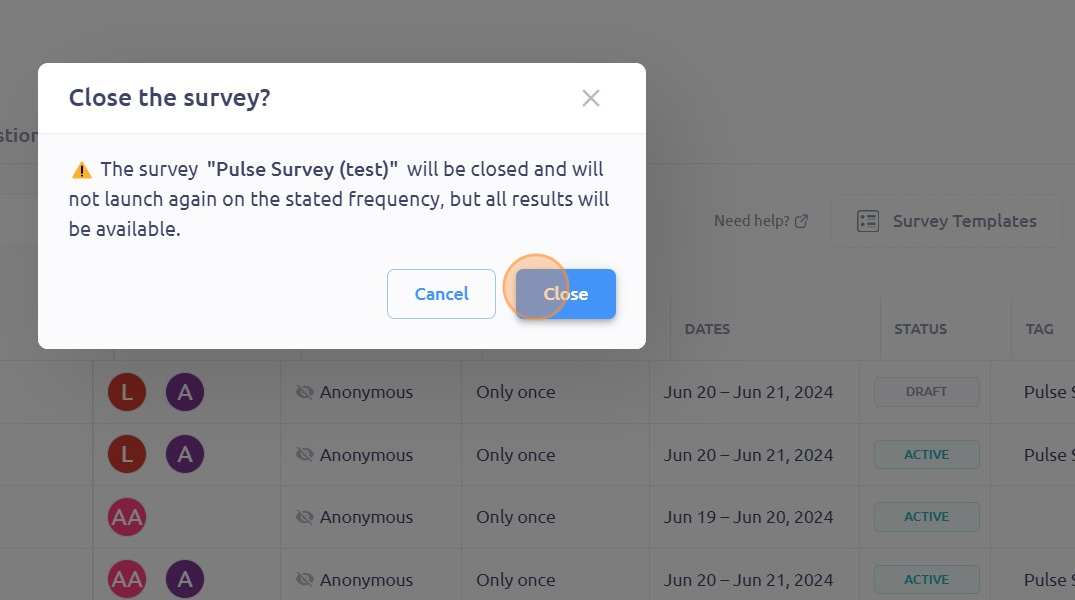
53. To close the survey, click "Close the survey"
54. Click "Close"
To see it in action, please visit Peoplelogic Learn.